Showing posts with label papertrey ink. Show all posts

Tuesday, 25 February 2014

Papertrey Ink February Blog Hop Challenge

This month's blog hop theme over at Papertrey Ink is Sweet Spring, here is the inspiration photo.

Cardstock - Hero Arts. Watercolour paper - Cotman. Stamps and
dies - Papertrey Ink. Ink - Ranger, Memento, PTI.

I used distress stain on the background and then spritzed it with water and sewed it to card base. I die cut Birds and Blooms and stamped them with the companion stamps, I cut the legs off of one of the birds and added an extra wing on foam pads so the bird would look like it was flying. I die cut the clouds from vellum and embossed the sentiment in gold and added a small heart. I think it's so cute and I can't wait to send it to a couple who will be new parents soon.

Thanks for stopping by,
Ang.

Thursday, 13 February 2014

52 Cards Challenge 2014 - Week 7

Just popping in to share my card for this week's 52 Cards Challenge.

Card - Bazzill. Watercolour Paper - Winsor and Newton. Stamps - PTI.
Embossing Powder - Stewart Superior. Ink - Ranger, PTI, Memento.

This is my take on one of my favorite techniques by Betsy Veldman. Very soft and really relaxing to create too, I just love the Larkspur stamp set.

Thanks for looking,
Ang.

Wednesday, 12 February 2014

Papertrey Ink 7th Anniversary Celebration - Part 2

As you may have read I am taking part in Papertrey Ink's 7th anniversary celebrations, read more about it here. This challenge is to create a project that incorporates stripes in some way.
Cardstock - Bazzill. Glitter Tape - American Crafts. Stamps and Dies - PTI.

I used some super sparkly American Crafts glitter tape in stripes and finished it off at the bottom with tiny tags 2 that also features stripes in coordinating colours.

I have a couple more posts planned for this week, including one that covers my new found love of watercolours!

Thanks for stopping by,
Ang.

Saturday, 8 February 2014

Papertrey Ink 7th Anniversary Celebration - Part 2

As you may have read I am taking part in Papertrey Ink's 7th anniversary celebrations, read more about it here. This challenge is to create a 3x4 Monthly Moments trading card and here is my attempt.
Card - American Crafts. Watercolour Paper - Winsor and Newton.
Umbrella and Sentiment - Papertrey ink. Twine - American Crafts.

This has been my first experiment with watercolours, it was so much fun but I have so much to learn, I have seen some great tutorials on Pinterest that look helpful that I must look into!

Thanks for stopping by,
Ang.

Friday, 7 February 2014

Papertrey Ink 7th Anniversary Celebration - Part 1

Papertrey Ink are currently celebrating their 7th anniversary with a number of contests where you can win gift cards to spend in store or even a year of free stamps! Today I am entering in the recipe card challenge and here is the first combination.

Card - Bazzill. Stamps, Dies and Ink - Papertrey Ink. Twine and Glitter
Paper- American Crafts.

*sigh* in my head it seemed like a good idea, on reflection it is poorly balanced with too much white space, I decided to try again with a different combination.


Card - Recollections, Papertrey Ink. Stamps, Die and Ink - Papertrey Ink.

And again, this is too flat and frankly blah. What can I say? I think my mojo has deserted me! Oh well, here's hoping the card I am working on now turns out better!

Ang.

Thursday, 26 December 2013

Papertrey Ink Make It Monday #145: 2013 A la Carte

I enjoy learning new techniques and there has been some fabulous ones featured during Make It Monday's on Papertrey Ink. At the end of the year they compile all of the posts in one and you can pick your favorite technique, this year I combined two, Make It Monday #113: Perfect Pearls and Make It Monday #144: Heat Embossing on Vellum.
Cardstock-Bazzill Cardshoppe. Vellum-Making Memories, Stamp Set-Papertrey Ink, 
Medium-Perfect Pearls, Ranger. Adhesive-Invisi-Dots for Vellum, Glue Dots International.

I stamped the medallions using watermark ink onto turquoise vellum and liberally added perfect pearls in turquoise, berry twist and forever purple then embossed the sentiment with gold embossing powder. Unfortunately when I stitched it to the base if rubbed some of the pearls off the edges but it's not too noticeable.

What about the picture quality, huh? it's a big improvement on my usual offering. I was a lucky girl and Santa bought me some lights to go along with the little light cube I got a couple of years ago, I know I have quite a way to go but I was relieved that I am able to show almost true to life colours in my pictures at last :)

Thanks for stopping by, 
Ang :)

Papertrey Ink December 2013 Blog Hop

For the final blog hop of the year, this month's theme at Papertrey Ink is Tied Up With String. I thought I would share this card that I have kinda fallen in love with, once all the pieces are die cut it's relatively quick to pull together.
Cardstock - Dots and Spots, Echo Park. Stamps and dies - Papertrey Ink. Twine - Jillybean Soup.

This has to be my favourite alphabet set, although I love my silhouette and the freedom it gives i'm still a die hard die girl. The cloud die is new to me and I have such a soft spot for the little baby clothes, look at those adorable socks!

I hope you all had a Merry Christmas and are enjoying a relaxing Boxing Day :)

Ang x

Saturday, 26 October 2013

October 2013 Papertrey Blog Hop - Tag It Challenge

Edited 28th October.
I have replaced the old photos with marginally better quality ones, winter time light is my kryptonite!
--------------------------------------------------------------------------------------------------------
I apologise for the truly horrendous quality photo's, it's 1am and I have only just finished my tags for the Papertrey Ink October Blog Hop. I will take better quality pictures in the morning. In the meantime, here is what I came up with.

This one is my favourite, I just love candy canes, I would love to buy more stamps sets of that theme as I really don't own that many Christmas stamp sets.
I liked how the holiday words look when stamped in this way, I am going to try this in a traditional colour scheme and then make another in pink, aqua and purple. Who doesn't love jingle bells?
I punched these leaves with my Martha Stewart punch ages ago from all my scraps and have been waiting for just the right project. I need to use seed beads on projects more often as I have thousands of them.
I really like the Snowflake Flurries stamp set and dies, they aren't too 'christmassy' and can even be used on birthday cards.
Mr Snowman didn't quite come out how I wanted, there is too much white space for my liking.

At least it means I have 5 pretty tags to use when wrapping gifts and they will add that extra special touch.

Thanks for looking,
Ang.

Sunday, 6 October 2013

A Tale Of Two Mum's

I know, silly title, but it's the best I can come up with this Sunday afternoon! September was a busy month for birthdays, my sweet nephew, my mother-in-law and my lovely, wonderful Mum.

This was a card that I just kept adding to, sometimes I need to learn when to say stop! I had a play with my new fresh cut florals stamp set and dies from Wplus9, they are so beautiful and so much fun to play with.

This is the card that I made for my mother-in-law
Florals again, quite predictable from me, this time I used Cutting Garden stamps and lots of patience cutting them all out :)

Thanks for looking,
Ang x

Sunday, 25 August 2013

Papertrey Ink August Blog Hop

It's that time again, here is my entry for the PTI blog hop!

and here is the colour combination and sketch that inspired it.
I stamped a half panel of card using the mini blooms stamp set in the ink colours provided above, once that was done I cut the panel into strips and run the strips through my xyron and covered them in prisma glitter and adhered to the card with phone pads. It came out much better that expected and it keeps catching my eye as it sits on my desk in the sun :)

Happy hopping!
Ang

Saturday, 24 August 2013

Papertrey Ink Stamp-a-faire - Updated 26/08/13

Today is the annual Papertrey Ink Stamp-a-faire where challenges are set throughout the course of the day, check it out here!

I will be updating this post as each challenge is completed. Challenge completed!!!

Breakfast Bake and Take
This was a nice easy challenge to get started, choose a colour scheme and a sketch to make a nice quick card. I popped the stamped buttons up with foam pads, if I had more time I would have added thread to the middles as i'm not keen on threadless buttons! I added a sparkly panel and stamped the sentiment in co-ordinating ink.

Tea Staining Techniques
I always have tea stained cotton seam binding ribbon on hand as it is the most popular item in my Etsy store. I stamped the ribbon with berry sorbet and spring moss using the Stitches and Swirls stamp set, unfortunately it bled quite badly, I forgot that I usually stamp with Staz-On on ribbon :( I stamped the background and coloured it with promarkers, adding a pin and stamped tag. There should be pearls in the centres of the flowers, I've just realised I forgot them!

Rolled Dough Designs
So, this card was the hardest for me and it's not exactly my best :( I didn't have any paperclay as was suggested so I used fimo air. I rolled out the clay and laid fillable frames #4 die on the top and pressed lightly, I then removed the die and cut round the indentation with a craft knife, stamped the flowers in each corner and the word birthday in the middle, once dry it was given a couple of coats of gesso.

My intention was to rub pink paint over the whole label and then wipe it off leaving the paint in the indentations, that did NOT work! I have repainted this darn thing so many times and had to resort to painting all the details with some diluted raspberry fizz ink, yes, that's why the word looks wonky! I adhered it to my prepared panel using super tacky glue. The flowers and leaved were stamped then quickly water coloured.

Mixing Mists to Match
I knew I wanted a blue background but unfortunately do not own any Hawaiian shores cardstock, so I decided to spray my own! I mixed up a mist using Hawaiian shores and turquoise perfect pearls and sprayed this over Lace Bouquet that has been embossed with white embossing powder. I die cut the banner from Stitched Sentiments and stamped the sentiment with coordinating ink. In a couple of days I think i will go back to this card and add a frame of white stitching as I feel it needs that little extra something.

Sprinkle of Salt
I took my cues from the card that Nichole created for this challenge. I stamped with daydreamer (my favourite!) then added dot of PVA glue over every large stamped dot and covered it all with table salt and let it dry for 2 hours. Once dry I brushed off the salt and used water colours to each salted dot and left to dry, I then finished it off with a stamped sentiment from scrolling script and a doodled border. It was an interesting technique but a bit too messy for me!

Gallon: Quart: Pint
I used this card by Debbie Olson as a rough sketch of what I wanted to do. Fortunately I had already stamped and coloured the image so it was easy to put together. I used a gallon of red, a quart of green and a pint of yellow! Out of all the cards I have made for this challenge, this is my husband's favourite, but I think that's because he can be a glutton when it comes to strawberries!

Custom Accents from the Oven
This is my favourite as it came out just how I wanted! I die cut 2 large clouds from white shrink plastic, punched a hole near the top and shrunk it with my heat gun, painted it with glitter and let it dry overnight. I die cut a partial cloud from my glitter card panel then stitched it to the card base, along with a strip of turquoise vellum that had been stamped and embossed with my sentiment, I then die cut another cloud and embossed it with an embossing folder, I attached the clouds and a small silver star to each earring base and lightly adhered the finished earrings to the back of the cloud before adhering to my card base.

It needed an little extra something so I die cut another cloud from shrink plastic, shrank it and glued it near the top right. I love, love, love it! I don't want to give it away but I did make it with a special person in mind so I'll have to part with it soon.

Whipping Up Scent-sational Cards
This was a fun foray into scratch and sniff! I used to love scratch and sniff stickers as a child, the ones that stand out the most were the Garfield stickers that smelt of lasagne! I won't go into detail on the process as this video explains it all perfectly. I chose strawberry for mine and stamped extra strawberries for myself and my husband to try so we didn't ruin the card and we were both amazed that the process works so well! I can't wait to experiment with different scents.

Limited Ingredients Challenge
If you follow the link you will see the basic supplies that you were allowed to use for this challenge. I used the headline alphabet stamps and dies for the words and had to go through my card stash for card that resembled the colours required and added them as a simple stripe with a glitter stripe to finish it off.

Sugar Coated Embellishments
The final challenge was to create a glittered embellishment. I cut strips of coloured card and glued them to some plain paper, i then covered that with prisma glitter and die cut the word hello. I handcut a speech bubble and added faux stitching around the edges, i then stamped the word friend using the wonderful words set of stamps and popped up the word hello using foam dots. Once this was adhered to the card I used a hole punch on the striped scraps and added the 3 glittery dots.

*Phew* I am tired from all that creating, I have never, ever completed 10 cards in one weekend before (regular readers will know about my propensity to procrastinate) and I am not sure I will again for a little while, however, I thoroughly enjoyed the challenges and look forward to participating next year.

Please visit Nichole's blog to see all the other fantastic entries made by cardmakers all over the world!

Thanks for reading,
Ang

Monday, 19 August 2013

Just a quick one..

I haven't had much crafty time over the past few days, however here's one I finished a little while ago. Unfortunately my masking wasn't at it's best and the sentiment isn't bright enough, but I still like it's zingy colours!

Have a great week!
Ang

Thursday, 8 August 2013

Make It Monday #128: Stamping Random Background Patterns

This week's PTI Make It Monday challenge is to stamp random background patterns.

I used the Birds and Blooms Anniversary set, particularly the 2 step wreath blooms to stamp the background and then filled in some of the spaces with the single flower images. I finished it with some gems and seam binding ribbon, the frame is from 2012 anniversary set Pretty Peonies and the sentiment is from Cutting Garden.

It looks wonky in this picture but I promise it's not!

It's nearly Friday :)

Ang

Thursday, 25 July 2013

Papertrey July Blog Hop Challenge

I had seen all the gorgeous colour combinations for this month's challenge and had lots of ideas swirling around, however I didn't get to put stamp to paper until a couple of hours ago and this is what I came up with..
I stamped the background using Memento London Fog and then coloured all the flowers and leaves with my Promarkers/Flexmarkers in shocking pink, carmine, cerise, lime zest, lime green and chartreuse.
and here is the colour combination it was based on
I am in love with the Fancy Folk Art stamp set, it had been on my wish list for a while and I debated whether or not I would actually use it, three cards later and I am so glad I did. It is so much fun to colour, to create your own backgrounds and I just adore the style of the sentiments, I think it will be quite a versatile addition to my 'collection' ;)

Have a great day,
Ang

Tuesday, 7 May 2013

3 Step Stamping Colour Combinations The Sweet Life - Updated 2015

Updated 02/02/2015 with readable key of the inks used.

I recently purchased a floral stamp set that requires 3 step stamping, which is a new concept to me, mainly because it requires a degree of precision and colour co-ordination, both of which come fleetingly to me.

One evening I decided to sit and stamp as many colour combinations I could think of, now please bear in mind that this decision may or may not* have come about after drinking a glass of wine.
*it did, and it was two glasses.

I advise you of this because, some, if not all of the samples are stamped squiffily, I like to think that the jaunty angles add 'movement' to the piece and are in no way a reflection of my poor workmanship, and some of the colour combinations are examples of my journey into colour theory. Fine, have it your way, I am guilty of being drunk in charge of an acrylic block.

For your viewing pleasure I present the result of that evening's 'work'

3 Step Stamping Colour Combinations - PTI The Sweet Life by Paper and Ribbons


Lemonade - AD
Peach Bellini - AD Mountain Rose - AD
Aqua – AD
Pool – AD
Peacock Feathers - DI
Aqua Mist – PTI
Hawaiian Shores - PTI
Ocean Tides - PTI
Antique Linen – DI
Scattered Straw –DI
Latte - AD


Cantaloupe – MM
Tangelo – MM
Morocco - MM
Tumbled Glass – DI
Broken China – DI
Chipped Sapphire - DI
Cool Peri – AD
Stonewashed – AD
Danube Blue – MM
Lulu Lavender –MM
Sweet Plum – MM
Grape Jelly – MM


Summer Sunrise – PTI
Berry Sorbet – PTI
Pure Poppy - PTI
Angel Pink – MM
Hibiscus Burst – PTI
Picked Raspberry - DI
Angel Pink – MM
Rosebud – MM
Love Letter – MM
Lulu Lavender –MM
Winter Wisteria – PTI
Grape Jelly - MM


Squeezed Lemonade – DI
Peach Bellini – AD
Dried Marigold - DI
Spun Sugar – DI
Pink Sherbet – AD
Hibiscus Burst - PTI
Spring Moss – PTI
Simply Chartreuse – PTI
Ripe Avocado - PTI
New Sprout – MM
Pear Tart – MM
Bamboo Leaves – MM


Cool Peri – AD
Shaded Lilac – DI
Stonewashed - AD
Spun Sugar – DI
Tattered Rose – DI
Victorian Velvet - DI
Lemonade – AD
Dandelion – MM
Summer Sunrise - PTI
Lulu Lavender –MM
Milled Lavender –DI
Winter Wisteria - PTI


Angel Pink – MM
Pink Sherbet – AD
Hibiscus Burst - PTI
Lemonade – AD
Sandal – AD
Orange Zest - PTI
Ladybug – MM
Love Letter – MM
Pure Poppy - PTI
Squeezed Lemonade – DI
Peach Bellini – AD
Pure Poppy - PTI

Key:AD – Adirondack Dye Ink, DI – Distress Ink, MM – Memento Dye Ink, PTI – Papertrey Ink Dye Ink.

Whilst there are a few misses my favourites are all on the third row down and the dark green rose. Of course there are hundreds of other colour combinations and I mainly explored the monochromatic side but I look forward to experimenting more and hope to buy some more stamp sets which require more than one level of stamping.

I also managed to get around to making a card. The background is also an example of 3 step stamping and I was pretty pleased with how it came out (it was my first attempt) and the rose just added the perfect finishing touch, it's one of my favourites in a long while and no doubt will be made again and again in different colour combinations :)

Cardstock - Bazzill. Watercolour Paper - Art Supply. Stamp 
set and matching dies - The Sweet Life, Notepad, Papertrey Ink

Thanks for looking,
Ang x

Thursday, 14 February 2013

Valentine's Day Treat Bags

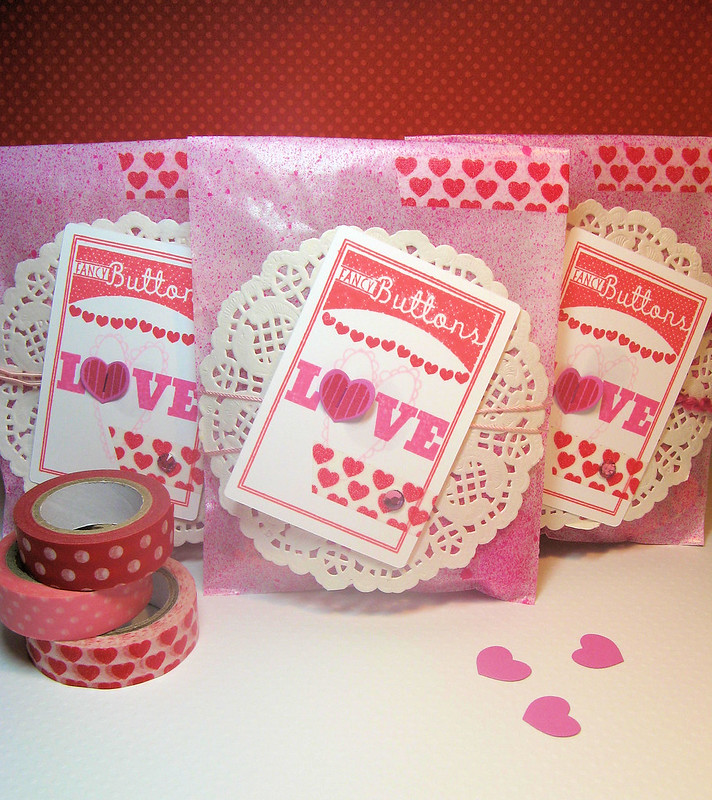
Being on the road in my old job meant I did not get to see my colleagues very often, now I work in an office it is nice to spend time with the same people on a daily basis. For Valentine's Day I thought it would be fun to create some treat bags for my co-workers.

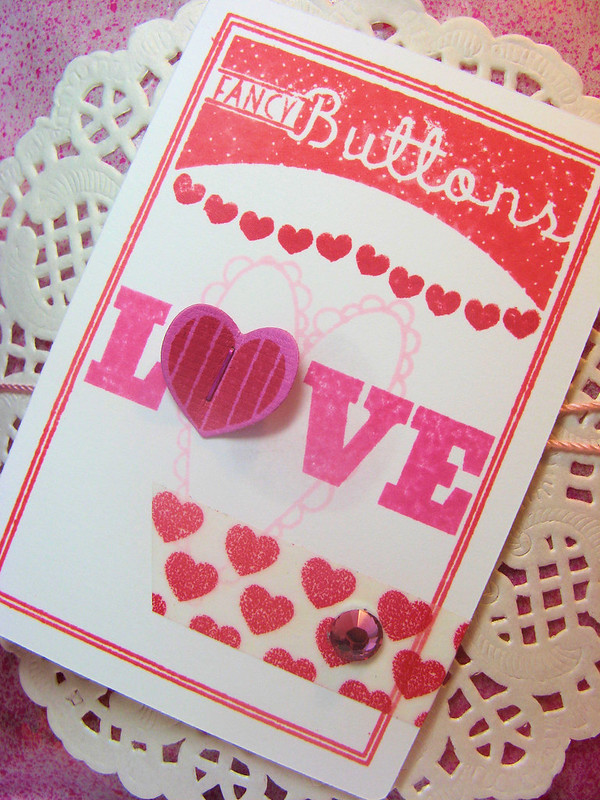
These were so easy to make when you have a little 'production line' going.  I laid out the glassine sacks and sprayed them with pink misting spray and a touch of glitter varnish spray, whilst they were drying I die cut and stamped the button cards in stages, once they were all prepared it was an quick task to assemble them with some paper doilies, thread and some washi tape. I managed to make 14 of these little beauties in a couple of hours (I am a notoriously slow crafter though!)
 
I used Papertrey Ink Button Boutique for the main image on the card, the scalloped heart is an old Pink Paislee Stamp, I finished it off with PTI's Heart 2 Heart 11 for the small hearts and the love word. I used the accompanying die to die cut the hearts which I attached with my Tim Holtz Tiny Attacher, I also coloured the staples with a promarker to make it look prettier. I finished it off with some love heart washi and a pretty pink gem.
 
I didn't have enough of the same coloured twine so I used a variety of different pink threads that I had in my sewing box. I filled these with chocolate hearts and coins, lovehearts sweets, lollipops and, the best part, a mini Malteaser bunny, those little things are seriously addictive, nom, nom, nom!

I hope that you have a Happy Valentine's Day!

Thanks for looking
Ang


Sunday, 10 February 2013

Papertrey Anniversary Entry #2 - Sketch Challenge

Continuing in on the festivites over at Papertrey Ink, here is my entry for the Sketch Challenge;

I used Snowflake Flurries and the matching dies to create a fun happy birthday card, I just love this colour combination of Orange Zest and Hawaiian Shores. Here is a look at my desk during the process;
 

I am quite a neat crafter! I just can't seem to abide lots of bits and pieces everywhere, this is as bad as it gets, however I think being so neat doesn't allow my to unlock my 'devil may care' crafting side.

Thanks for looking!
Ang x

Papertrey Anniversary Entry #1

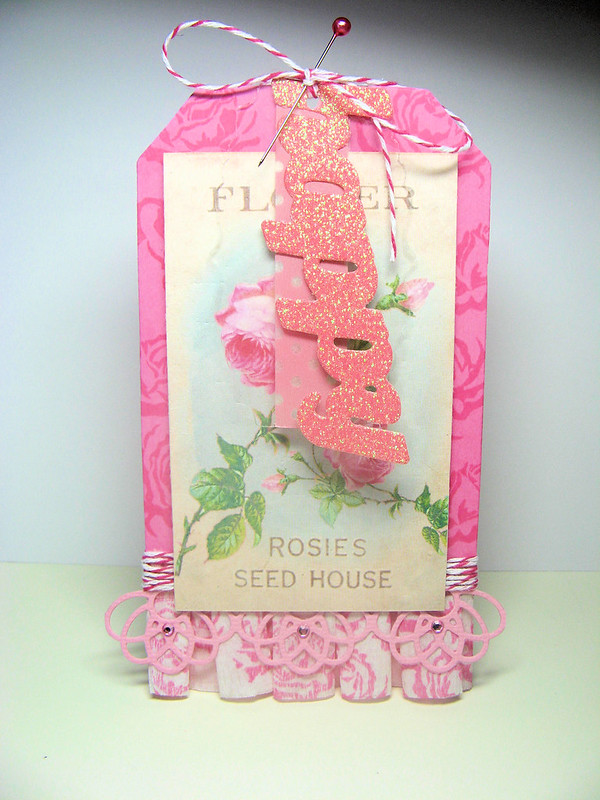
If you are a fan of Papertrey Ink, you probably know they are holding their anniversary celebrations with lots of contests and prizes, including winning a year's worth of stamps! Here is my entry for today's challenge to create a wrap, tag or gift wrapping using a photo from pinterest or any other site. So here is my entry...


Inspired by this pin...

 
I bought the rose paper today but have no idea who made it! PTI dies used for the word, clear label and border. I stamped the background of the tag and the crepe ruffle with the Sweet Life stamps.

Thanks for looking!

Ang

Friday, 25 January 2013

Papertrey January Blog Hop Challenge

Every month Papertrey Ink has a blog hop and this month the theme is Black Backgrounds. Here is my entry.


I used my favourite Strawberry Patch stamps and sentiments, embossed in white then simply coloured with my watercolour pencils, I am really loving this look at the moment. I am so annoyed that my pictures are coming out so badly, the snow outside really doesn't help when placed next to the window and my OTT light isn't much better, oh well, I can't wait for sunnier days!

Thanks for looking
Ang x

Saturday, 19 January 2013

Make it Monday Part 2

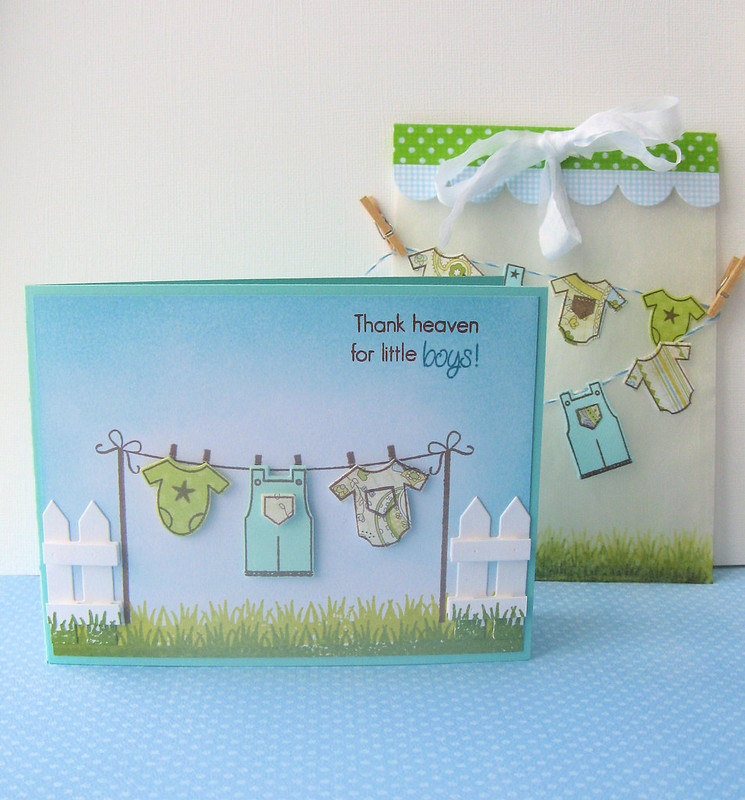
So, I could not resist making a second entry for Make it Monday #100, I had just the idea in mind :)

 
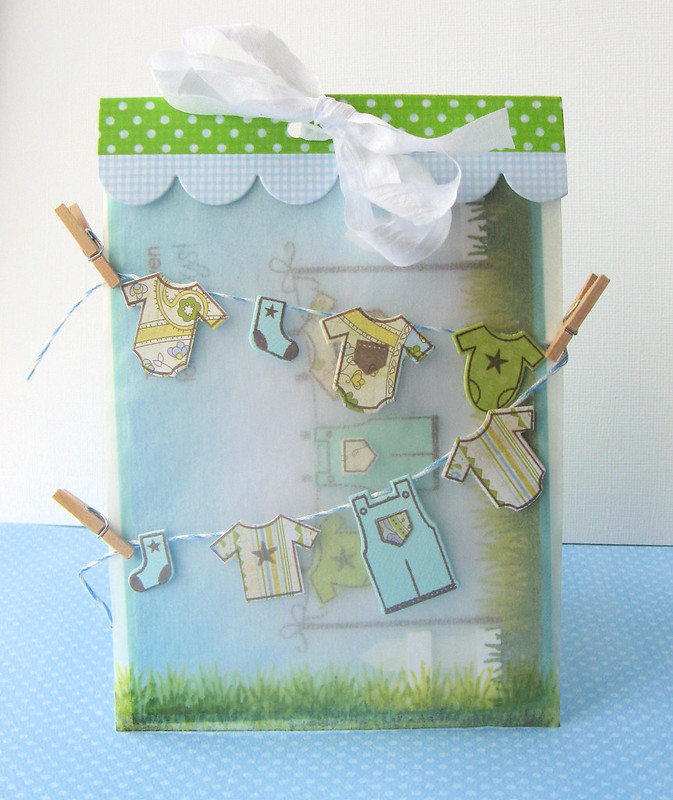
My friend has just given birth to an adorable baby boy and I know that she will love this card. I used the Hanging Out dies and stamps to decorate the card and glassine bag, adding a little bit of twine, some washi and the picket fence dies.

Thanks for looking!
Ang x