Showing posts with label male cards. Show all posts

Saturday, 14 June 2014

Celebrating Father's Day

When it comes to paper crafting I think my dad gets the rough end of the deal, I love creating girly things for my mum, but my dad? not so much. He's a simple kinda guy so I need to make sure the card is special but not at all 'frilly'. Here's what I have come up with this year;

Card base - Papermania. Patterned paper - October Afternoon. Font - Ostrich 
Sans. Sketch Pens - Silhouette America. Heart - K&Co.

I had seen the quote on pinterest and loved it and decided to use it as the focal point of the card. I am not a fan of my own handwriting so I used the ostrich sans font and my sketch pens and had my silhouette do all the work. I then overlaid this with vellum and added the die cut gold 'Dad' and finished it off with a little puffy heart sticker. 


I'm an only child and was/am very much a daddy's girl (well, I'm also mummy's girl too!) and I hope this conveys to him just how much I love him.

 I also show my Father-In-Law the love and made him this card;

Cardstock - Bazzill. Patterned paper - Mint Julep, Basic Grey. Vellum - 
Dear Lizzie. Glitter Paper - American Crafts. Dies - Wplus9. Lawn Fawn and My 
Favourite Things. Stamps - Milos ABC's, Lawn Fawn. Sequins - Doodlebug.

I have had the shaped sequins since I started crafting in 2006 and was happy to find a use for them, I stitched them within the vellum pocket, I just adore shaker elements! The flags were made from scraps and the sentiment was stamped with staz-on, I now realise I should have embossed it in blue to make it stand out a little bit more.

The card below was made as I had been wanting to make a card using my new lawn fawn journaling card die with gold mirror card stock, it has such a luxury look to it.

Patterned paper - DIY Shop, Crate Paper. Leaves cut file #9075 Silhouette
America. Card stock - Bazzill Cardshoppe, Papertrey Ink. Stamp - Papermania.
Dies - Lawn Fawn. Washi tape - Freckled Fawn. Glitter paper and embossing
powder - American Crafts. 

I'm really pleased with how this came out, I wish I would have used a brighter green for the leaves and I think I should have introduced a pop of colour such as red to add some interest. It will be nice to have this stashed away for giving later this year ;)

Thanks for reading!

Wednesday, 15 January 2014

Bits and Pieces 4 - Unisex Birthday Cards

Every now and again I feel that I need to address the huge pile of scraps that I have in my drawer and last weekend I had that urge again.

This is the packet that I dug out of my drawer, along with some bright plain card stock scraps and a couple of small pieces of patterned paper.
I swear that octopus has been taunting me for months, now I have a new printer I can print out a punny sentiment and finally say goodbye to it. Unfortunately it didn't make the cut in this round, maybe next time, although I need to learn when to put something in the bin and move on.

I managed to make quite a few cards, although for this post I will focus on some birthday cards, that on reflection would be suitable for both a boy or a girl, finally, I need to build up my stock pile. All

I used the letters from another scraps project and popped up the stars on foam tape, I love the star washi tape, more on that in another post.
 Again, my favourite foam tape, the small striped embellishment was a happy accident when I trimmed the paper.
I cut the frame with my silhouette using the rectangle tool and welded the word happy to the bottom of the frame, not an original idea I grant you, but I was pleased I managed to make it on my own ;)

I was left with these pieces and knew I could make just one more card.


I added a small glassine bag and used decorative scissors on the edge, filled it with some confetti and taped it to the card with some washi tape, a couple of stars, a ticket and a bit of stitching and it was done!

It feels so good to create more than one card at a time, I have another 4 cards to share from the same scraps bag, I'll be back with that on Thursday.

Thanks for reading,
Ang.


Thursday, 7 February 2013

Revisiting Vintage Vogue by Pink Paislee

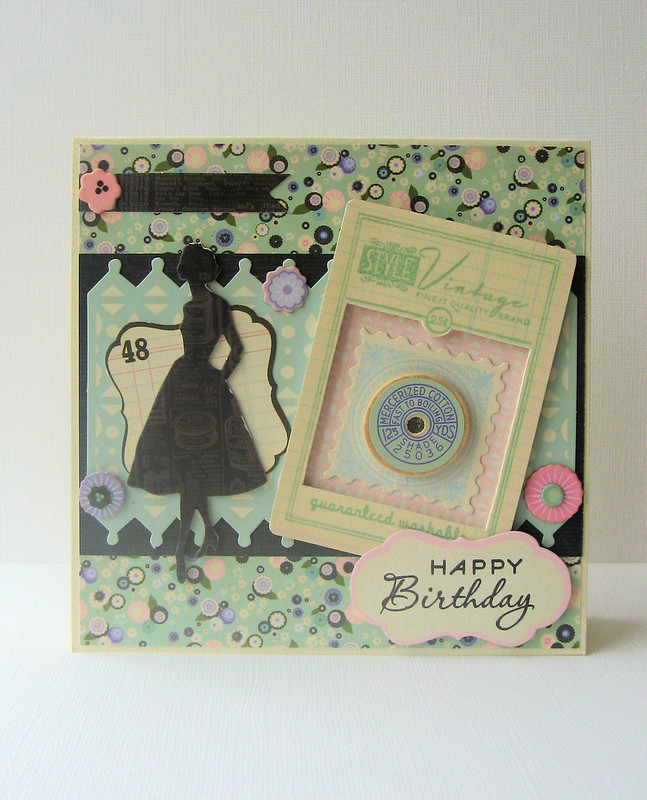
Have you ever bought a paper line that you loved so much but didn't want to use? Duh! silly question if you are a crafter. I think many of us hoard papers and embellishments that we think are too pretty to use, I know that I am guilty of this many times over. When I first saw the Vintage Vogue collection by Pink Paislee, I fell in love, so much so that along the way I acquired multiples of the paper pack and embellishments, however, I only discovered this the other week so I decided it was time to pull it all out and get stuck in.


I always find that I have a shortage of birthday cards, so I was sure to make a couple that I hope will be liked by the recipients.

 
A relatively clean and simple card that seems right for any occasion.

 
Gotta use up those scraps, and I certainly did with this one! I think I need to pay better attention to the scallop placement next time, it's ever so slightly wonky!

 
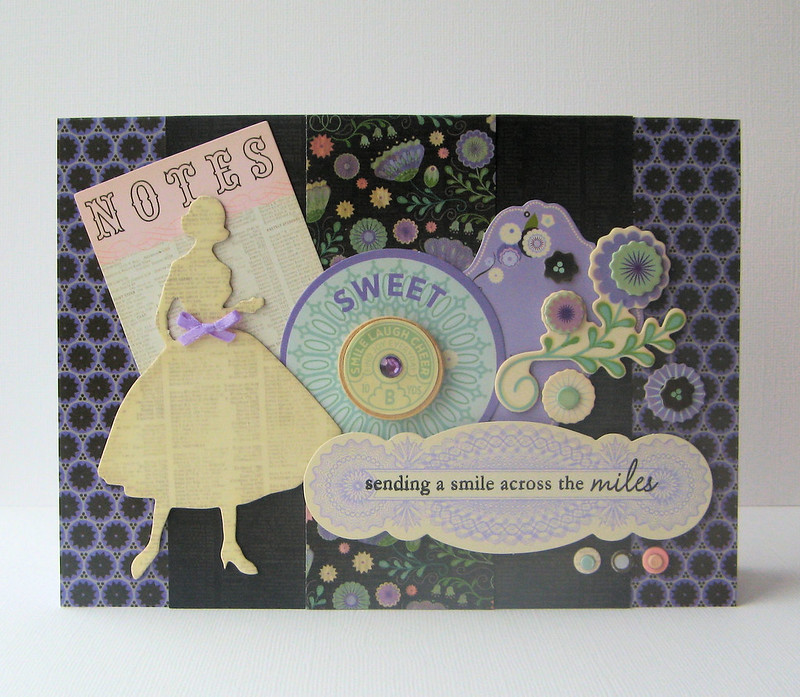
This one is for my bestest friend, she's like a sister to me, unfortunately she lives thousands of miles away, so I don't get to see her as often as I would like. I intend to send this to her to (hopefully) brighten up her day and let her know that I am thinking of her always. I could not seem to stop adding embellishments to this one, I need to know when to stop!

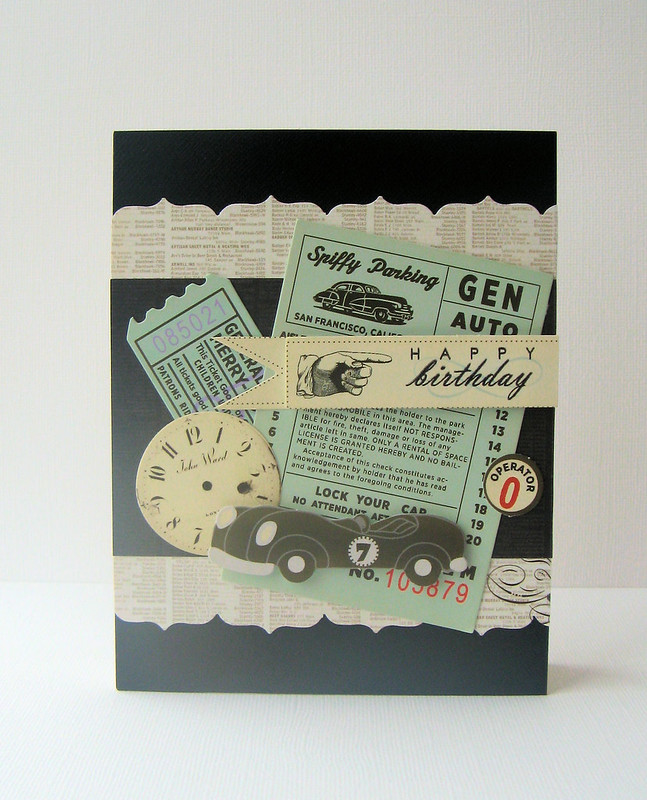
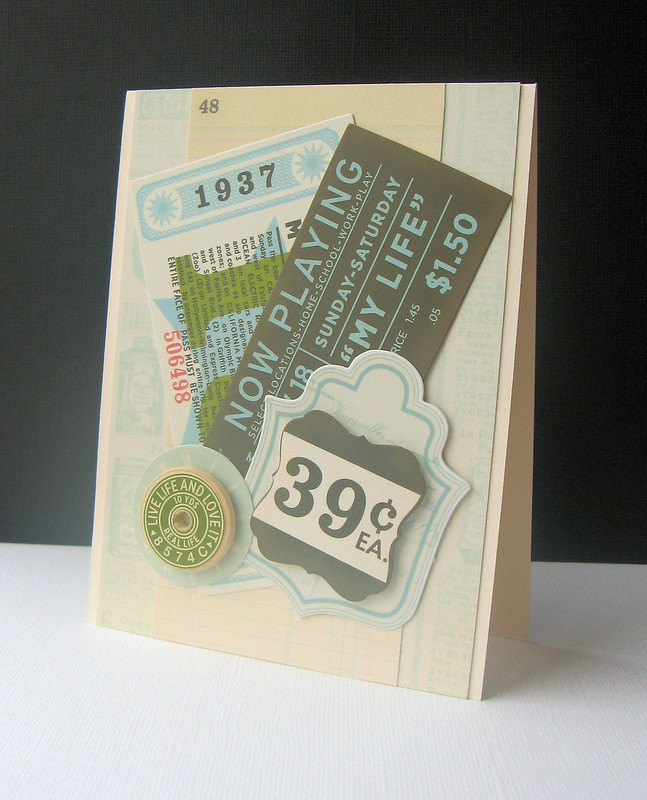
What was surprising was I the fact that I managed to make two male cards from this definitely 'girly' line.


This is for my husband's best friend that works in the car industry.


and finally, this is for my darling husband who turned the grand old age of 39 last month! If you made it all the way to the bottom of this post, thank you!

Have a great day
Ang x

Wednesday, 16 June 2010

WOYWW 16/06/10 - Buttons!

Good morning WOYWW-ers. Most people can attest that I am very anal retentive when it comes to tidiness, hence why my workdesk always looks like organised mess, which in a way it is. I admire people that can work in, how do i put it delicately, creative chaos! I look at lots of WOYWW bloggers and see their desks and I am envious, I wish I could craft that way, it seems so much more freeing and, well creative than mine and I wonder if my neatness hampers my creativity.


What seems to be a clever idea at the time, in hindsight can prove to be an unwise decision. I had lots of little jars with all my buttons separated by colour, except it was such a pain dragging them out of my storage unit I didn't use them very much so I decided on a whim to empty them all into a kilner jar. I could not believe how many buttons I had, although I have now discovered I am woefully short on purple buttons which I guess gives me a good reason to go stash shopping!

It did cross my mind briefly that when I next wanted to make a project that required a specifc colour it would be a pain in the posterior to find the right one, this was also backed up by Mr Paper, who, when I proudly showed him my new jar, said 'good luck with that, I know you and you'll wish you hadn't done that'. Meh, was my response to this and I sat there all superior thinking it would inspire me to use them more and it was so pretty to look at and didn't think it would be that much of a problem, until today.

I am joining in with the Monday challenge on the Fiskarettes blog and I decided I needed buttons for the centre of some stars I was decorating, I sifted through the jar and each time came up with a button either too big or not the right shade. 'Damn, it would be so much easier if these were separated by colour' but alas, I had already had that bright idea and thought I knew better! I promptly dumped 2/3 of the jar on the table and sat for a good 15 minutes picking through them to find the right ones. Next time I have a clever idea like that somebody stop me!

Here's the card
If you have stuck with me till the end, thank you, I didn't know I had so much to write about buttons! Have a great week :)

Sunday, 17 January 2010

One for the boys!


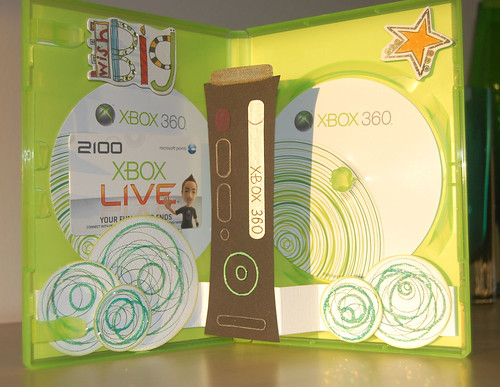
It was my darling husband's birthday on Saturday and I had been stressing about making him a card and having enough time to get it done. I had purchased him some XB360 live points for his birthday and decided to use the box as a card to go with the points.

I made a template for the 360 itself, cut out the various buttons and doo-dads and embellished them with metallic pencils, krylon silver pen and dimensional adhesive before attaching them to the template. I wanted it to 'pop' out a little when opened so I mounted it on a strip of card with a couple of creases so it would lay flat when closed. I added on some decorated die cut circles (although one dropped off leaving that little blank of white card to the template!) some stickers and finished it off by mounting the points card on with repositionable adhesive.

I didn't have as much time as I would have liked and there are some changes I would have made but I was happy with the finished card and fortunately for me he loved it and it now sits proudly in his office. Phew!