Showing posts with label halloween. Show all posts

Friday, 30 October 2026

Halloween ghost house - but make it cute and a shaker!

 A different kind of festive for this week’s Festive Friday – a cute little Halloween shaker ghost house! ๐Ÿ‘ป


I didn’t mean for it to turn into a shaker card but as I was adding a little depth to the windows I thought, why not?! I used the Market Place No2 die for the house and Eerie Avenue for the decorations. I think my favourite detail is the little ghost trapped in the attic window ๐Ÿ‘ป๐Ÿฉท 


Check out my Instagram Post to see the shaker in action.


Have a Happy Halloween! ๐Ÿ‘ป๐ŸŽƒ๐Ÿชฆ๐Ÿฉท๐Ÿงก

Thursday, 29 October 2026

Market Place Eerie Avenue Tunnel Card - The Greetery

Hello! Ang popping in with a bonus spooky blog post this week featuring the Market Place Eerie Avenue die by The Greetery!

I do enjoy a tunnel card and had an idea to create a spooky themed version using all the cute die cuts from Eerie Avenue.

To assemble the card, you will need to cut however many frames you would like for your tunnel – I decided that I wanted mine to be three deep, so I cut four frames using the Capsule Basics dies in Concord & 9th Sweet Pea cardstock.

For the sunset panel, I cut an oval from Capsule Basics and ink blended it using Distress Oxides in Kitsch Flamingo and Dried Marigold. I also cut a back panel to cover the concertina using the scalloped shape in the die set, and another decorative frame for the front, both from some sweet Halloween-themed paper.

I cut 2 lengths of cardstock 2 ½ in long by 2 ¼ in wide and then scored them at ¼ inch intervals on the width. Taking each frame in turn, I glued it within the concertina folds, I then added my die cut elements nestling them within the folds in front of the frames and finished it all off by adding the front frame and back cardstock piece.

Once it was all assembled, I added the ghosts, bats and moon to the background along with the fun pumpkins and more bats to the front. If you would like to see how to assemble your own card, have a look at Betsy from The Greetery’s video here.

Have a fun (but safe) Halloween!

Monday, 4 November 2013

Halloween Treat Bags

Since I have started working in an office there are lots of opportunities to make sweet treats for my colleagues. I started with these bags this Valentines Day and had a last minute idea to make Halloween treat bags, it started out as fun, but by 2.30am I was definitely flagging!
 I die cut the pumpkins and the gravestones using my silhouette (I started out writing RIP on the stones but chose to go with a more cheerier 'Boo!') but together it just wasn't enough and I was running out of time. I had to pop to the local supermarket and lo and behold I found a set of 50 witches for 99p, originally they make up a game much like an Easter egg hunt, but you have to find the witch with orange stars on her dress, when dressed up together with the other two die cuts they made a 'bewitching' *groan* label.
I used Wilton clear party bags, filled them with various sweeties and tied them with some tinsel or curling ribbon. The wraps around the centre were from the same supermarket as the witches and were meant to make paper chains. I wish I had picked up more because I made a lot more bags than originally planned!
Here they are ready to go in my basket. I wish I had used a more halloweeny fabric though.
 I needed a quick way to adhere so many labels together and it had to be quick drying glue, my hot glue gun wasn't the greatest idea so I went with my Tiny Attacher, it didn't detract from the total look, besides, I don't think the recipients were looking that closely ;)

I overfilled one bag for my friend's little boy and took a bit more time with his tag, I backed the pumpkin with black card stock, die cut and glittered his name, used the 'fancy' witch from the pack of witches and finished her off with some oogly googly eyes.

I was so pleased to hear that it brightened so many people's day, however I think I may have to put a bit more planning into it if I am going to make some for Christmas!

Hope you had a fun, safe Halloween,
Ang

Monday, 12 October 2009

Spooktastic

I am rather accident prone at the moment, from hurting my back, tripping over my own feet and now I have 2 fingers strapped together which makes typing and crafting a rather slow process!

I have been working with the latest Crafty Templates kit Autumnal Treats and it is scrummy. Filled with papers and embellishments that work for both Autumn cards and Halloween Treats . As soon as it landed I had so many ideas and the templates that come with it are adorable, unfortunately I have been hampered somewhat by my unbendy fingers so I only managed a couple of cards and a mini book by deadline, but I'm hoping to work on some more cards later this week!

Apologies for the small pictures, they are clickable for a large size, Blogger seems to be stretching out my pictures if I make them any bigger!


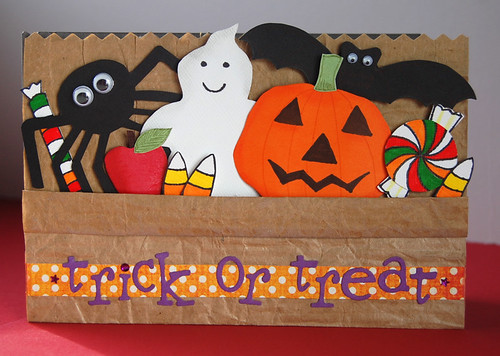
How cute are the halloween characters? I added the apple, candy and the letters which die cut from sizzix Wingo Zingo alphabet.


The front of the mini book. The wrap is made from Bazzill Just the Edge wavy cardstock strip with a velcro closure topped with Elle's Studio Halloween Mini Paper.


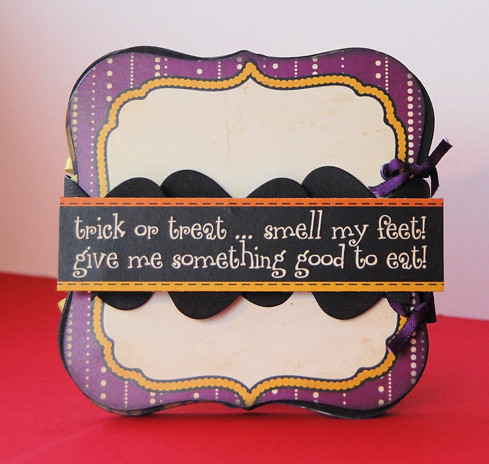
The pages were die cut with Spellbinders Labels One then backed onto black card. Each page was set with eyelets and threaded with ribbon, I added Elle's Studio Vintage Label cut outs then miniature halloween characters from the templates provided.


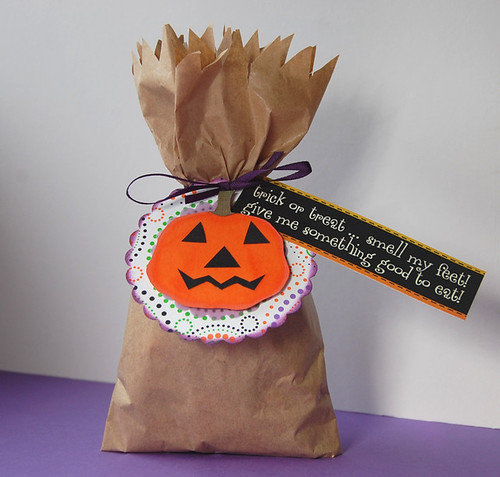
Cute little Halloween treat bags. I folded the bag into 3 and stapled the back to make a smaller bag, die cut a label and added a pumpkin from the template and more Elle's Studio paper. I made a few of these to give to my friends kids. I tried making little bags for any trick or treaters that knocked on my door last year, but because we live on a dark, country road no-one dared venture out of the village to us!


Finally, an autunal card using the template for the trees, yummy Bo Bunny Kitchen Spice papers, handstitching on the leaves and as a border and Hero Arts sentiment.

I'm off to rest the fingers after the epic post and look forward to posting some more during the week after I get the splint off. Happy Crafting :)