Saturday, 2 March 2013

Sharing My Excitement

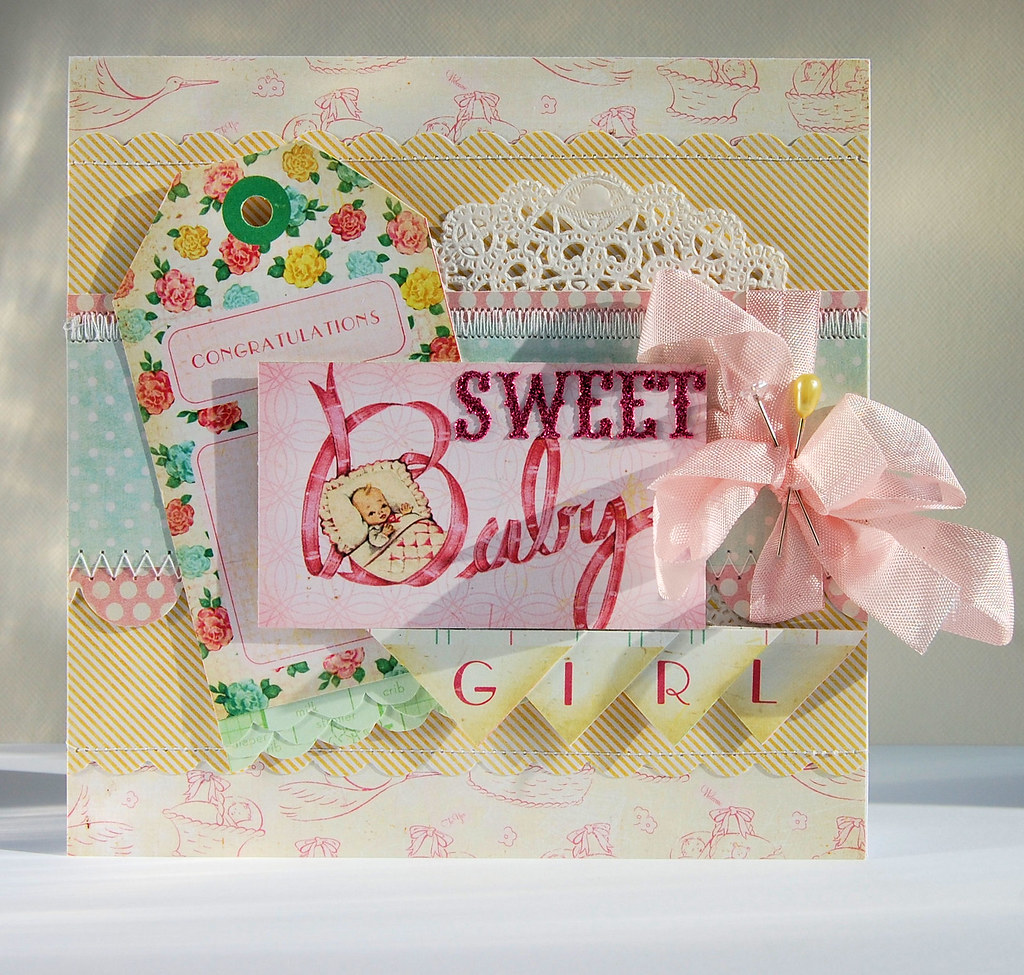
You will have to excuse me, I have to share some news that was very exciting for me, my first ever published card in one of my favourite magazines!

 
I made this card last August for a Papercrafts Magazine publishing call and was so happy to receive an email telling me that it was accepted, it's been so hard to keep the news under my hat!
 
I have never submitted a card for a call before, mainly because I didn't believe in myself enough to do so, so many thoughts of the other fantastic card makers out there and how could I compete? well, I am proof that if you never enter you will never know!
 
And here is the magazine which will be kept for posterity..
 
 
And here is another card that I submitted that wasn't picked up
 
 
Thank you for letting me share my excitement!
 
Ang x x

Thursday, 21 February 2013

Hero Arts Love and Lace Challenge

Here are my entries for the Hero Arts Love and Lace challenge

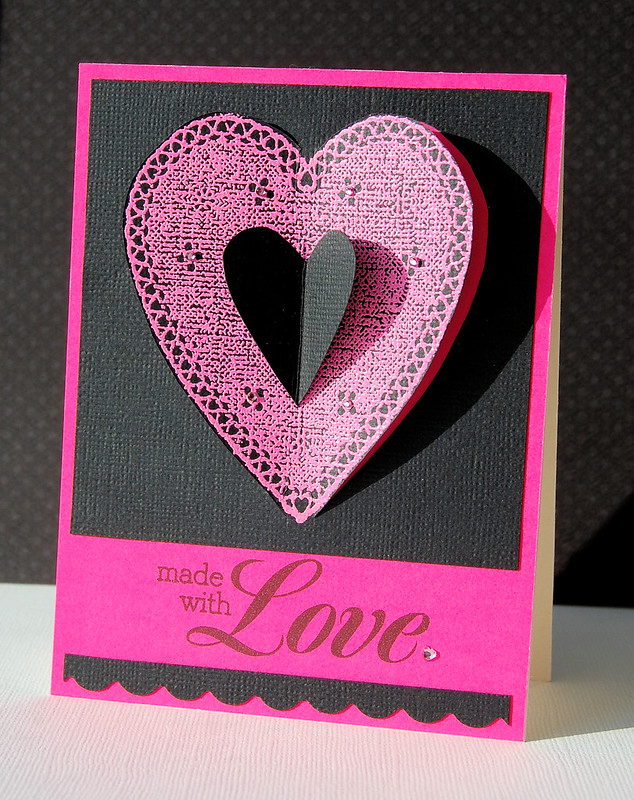
This is my love entry;
This is the result of my burgeoining love affair with neon. I really covet the Hero Arts Neon Inks, they shall be mine one day! I stamped the heart using the wood block Hero Arts Heart Lace K5236 and pink embossing powder, I then cut around the heart leaving a small piece attached at the top at the bottom so I could fold the heart inwards to show the neon paper underneath, I then used foam pads to add dimension and added a black heart in the centre. The sentiment was stamped with Made with Love CL491.

Here is my lace entry;
I used Doily Circle CGI68 and embossed it with clear embossing powder and spritzed over the top with spray ink. I liked the way the pink looked with the turquoise so I mounted it on a pink card base and added some pink pearls and some twine. The sentiment is from CL270 Sky's the Limit.
 
Thanks for looking!
 
Ang


Wednesday, 20 February 2013

CAS-ual Fridays CFC90

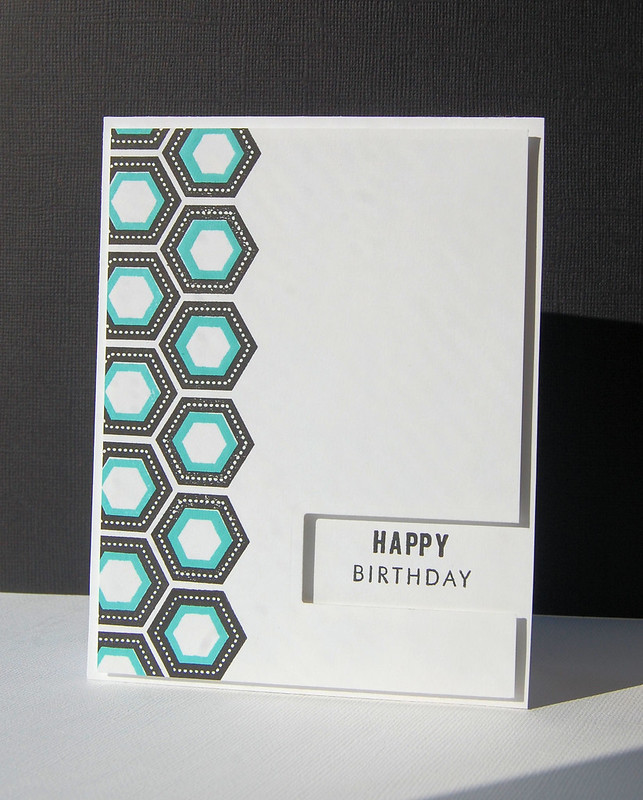
In the spirit of entering more challenges I thought I would have a go at entering CAS-ual Fridays challenge to create a card in black and white and one colour of your choice. I decided on aqua as it's my favourite colour at the moment. I tried to make this super clean and simple and I am not sure if I like it or not.
Clean and simple is such a departure from my normal style, I like to embellish and fiddle, I know that you can do that with CAS style, I am just not very good at it so I end up with something very plain. Oh well, if you never try then you risk getting stuck in a rut :)

Thanks for looking
Ang

Update: 23/02/13 - Well, this came as a lovely surprise! Thank you CAS-ual Fridays.

Thursday, 14 February 2013

Valentine's Day Treat Bags

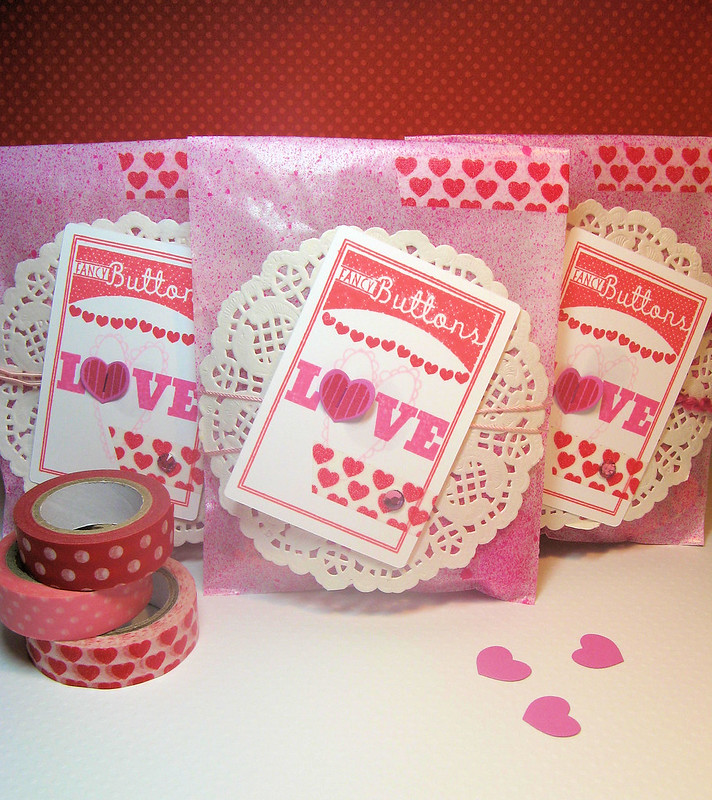
Being on the road in my old job meant I did not get to see my colleagues very often, now I work in an office it is nice to spend time with the same people on a daily basis. For Valentine's Day I thought it would be fun to create some treat bags for my co-workers.

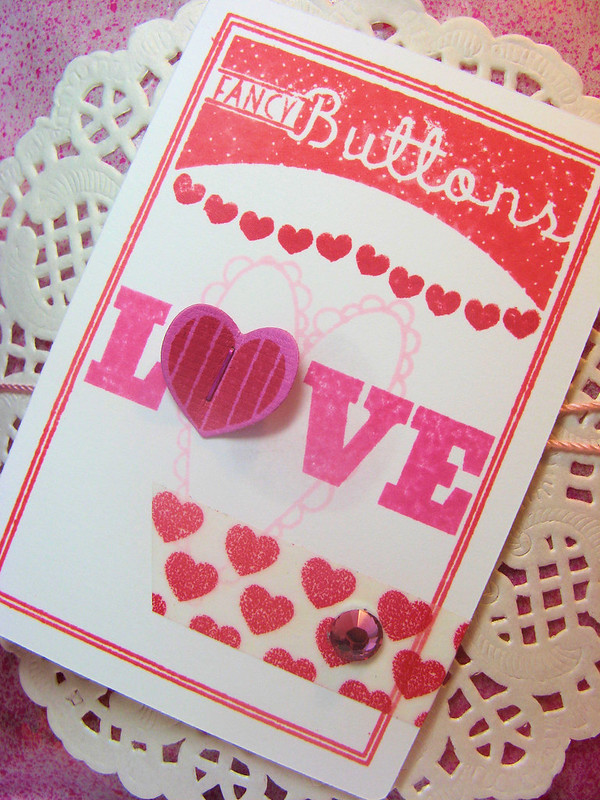
These were so easy to make when you have a little 'production line' going.  I laid out the glassine sacks and sprayed them with pink misting spray and a touch of glitter varnish spray, whilst they were drying I die cut and stamped the button cards in stages, once they were all prepared it was an quick task to assemble them with some paper doilies, thread and some washi tape. I managed to make 14 of these little beauties in a couple of hours (I am a notoriously slow crafter though!)
 
I used Papertrey Ink Button Boutique for the main image on the card, the scalloped heart is an old Pink Paislee Stamp, I finished it off with PTI's Heart 2 Heart 11 for the small hearts and the love word. I used the accompanying die to die cut the hearts which I attached with my Tim Holtz Tiny Attacher, I also coloured the staples with a promarker to make it look prettier. I finished it off with some love heart washi and a pretty pink gem.
 
I didn't have enough of the same coloured twine so I used a variety of different pink threads that I had in my sewing box. I filled these with chocolate hearts and coins, lovehearts sweets, lollipops and, the best part, a mini Malteaser bunny, those little things are seriously addictive, nom, nom, nom!

I hope that you have a Happy Valentine's Day!

Thanks for looking
Ang


Sunday, 10 February 2013

Papertrey Anniversary Entry #2 - Sketch Challenge

Continuing in on the festivites over at Papertrey Ink, here is my entry for the Sketch Challenge;

I used Snowflake Flurries and the matching dies to create a fun happy birthday card, I just love this colour combination of Orange Zest and Hawaiian Shores. Here is a look at my desk during the process;
 

I am quite a neat crafter! I just can't seem to abide lots of bits and pieces everywhere, this is as bad as it gets, however I think being so neat doesn't allow my to unlock my 'devil may care' crafting side.

Thanks for looking!
Ang x

Papertrey Anniversary Entry #1

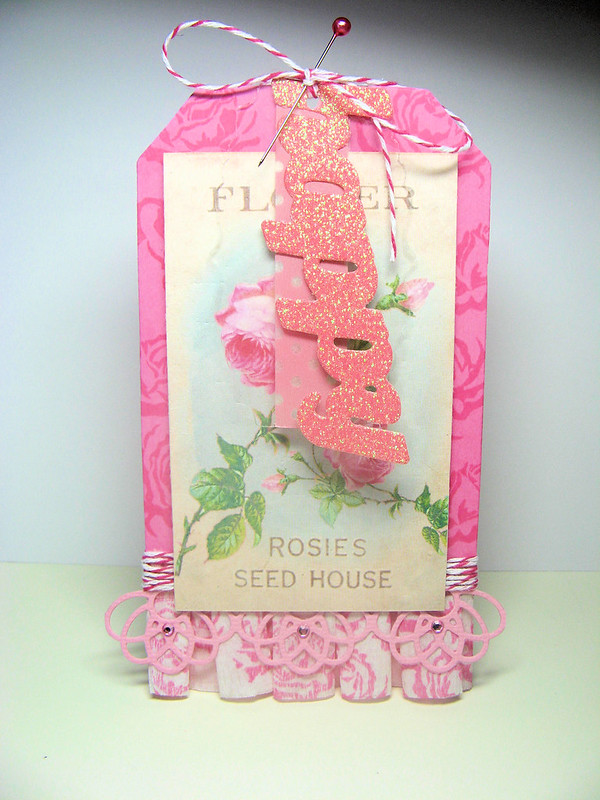
If you are a fan of Papertrey Ink, you probably know they are holding their anniversary celebrations with lots of contests and prizes, including winning a year's worth of stamps! Here is my entry for today's challenge to create a wrap, tag or gift wrapping using a photo from pinterest or any other site. So here is my entry...


Inspired by this pin...

 
I bought the rose paper today but have no idea who made it! PTI dies used for the word, clear label and border. I stamped the background of the tag and the crepe ruffle with the Sweet Life stamps.

Thanks for looking!

Ang

Thursday, 7 February 2013

Revisiting Vintage Vogue by Pink Paislee

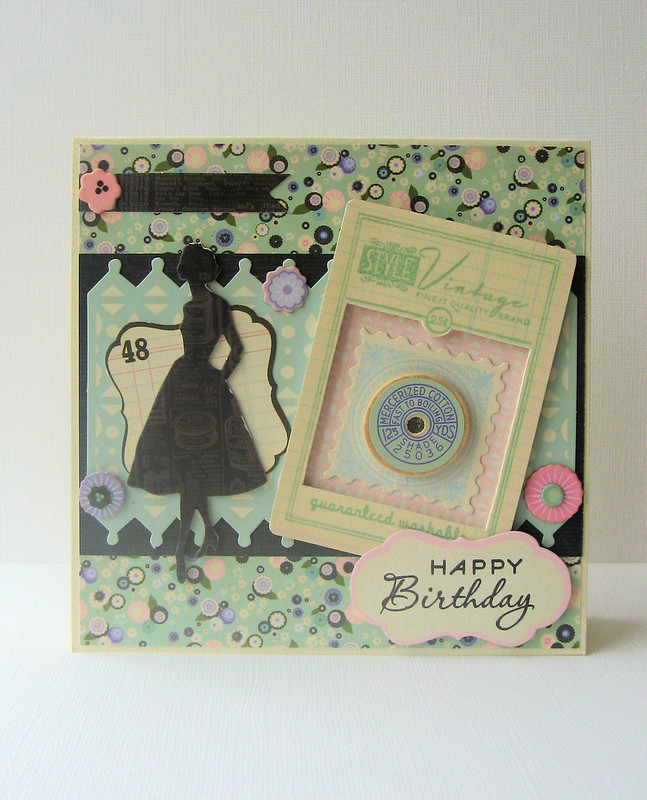
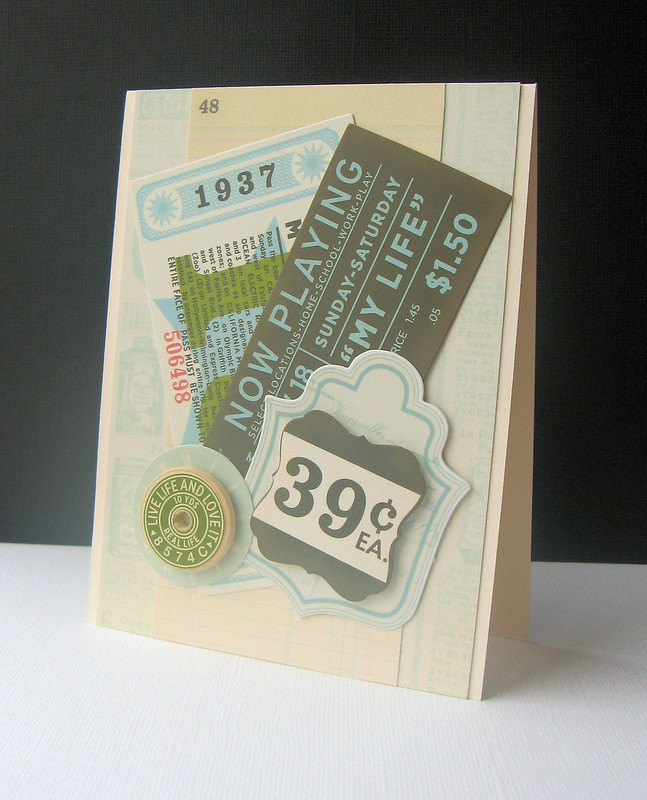
Have you ever bought a paper line that you loved so much but didn't want to use? Duh! silly question if you are a crafter. I think many of us hoard papers and embellishments that we think are too pretty to use, I know that I am guilty of this many times over. When I first saw the Vintage Vogue collection by Pink Paislee, I fell in love, so much so that along the way I acquired multiples of the paper pack and embellishments, however, I only discovered this the other week so I decided it was time to pull it all out and get stuck in.


I always find that I have a shortage of birthday cards, so I was sure to make a couple that I hope will be liked by the recipients.

 
A relatively clean and simple card that seems right for any occasion.

 
Gotta use up those scraps, and I certainly did with this one! I think I need to pay better attention to the scallop placement next time, it's ever so slightly wonky!

 
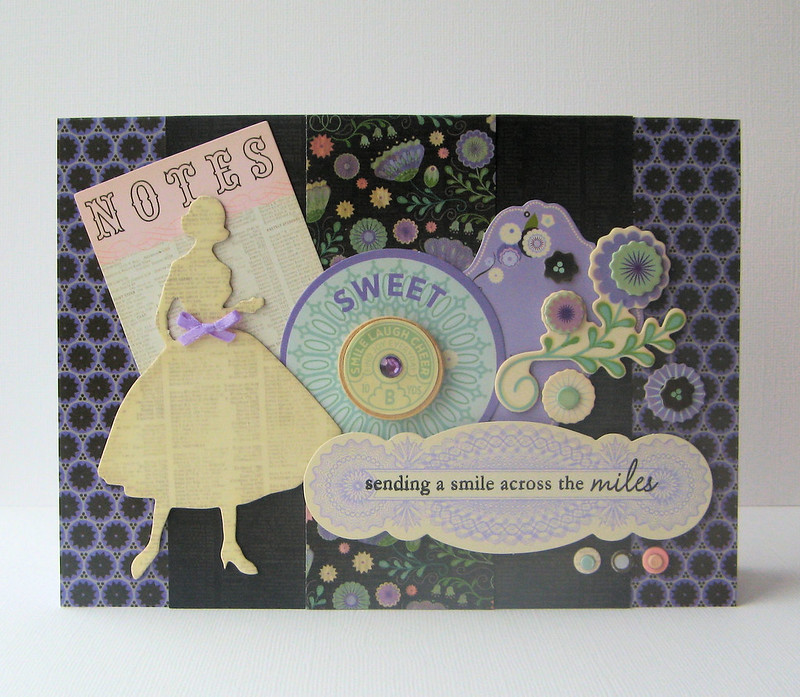
This one is for my bestest friend, she's like a sister to me, unfortunately she lives thousands of miles away, so I don't get to see her as often as I would like. I intend to send this to her to (hopefully) brighten up her day and let her know that I am thinking of her always. I could not seem to stop adding embellishments to this one, I need to know when to stop!

What was surprising was I the fact that I managed to make two male cards from this definitely 'girly' line.


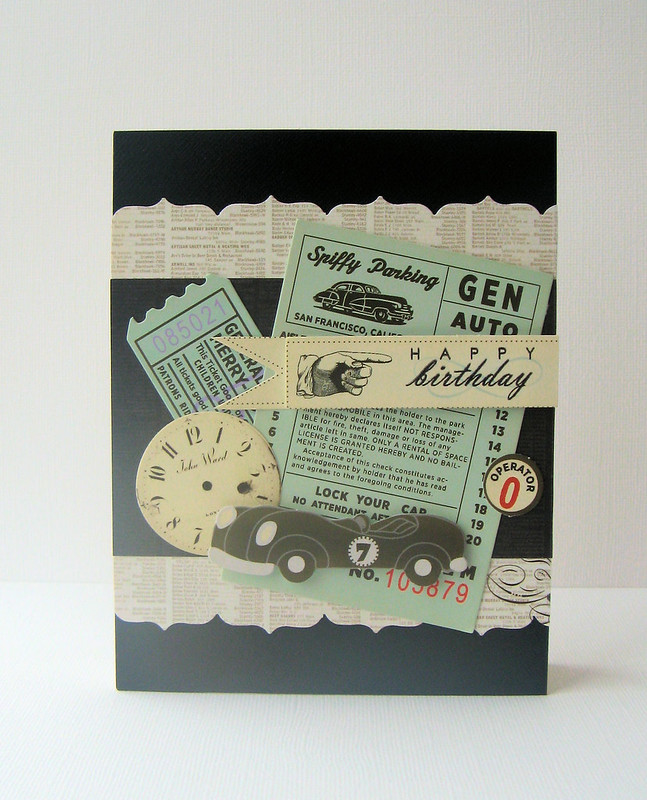
This is for my husband's best friend that works in the car industry.


and finally, this is for my darling husband who turned the grand old age of 39 last month! If you made it all the way to the bottom of this post, thank you!

Have a great day
Ang x

Sunday, 27 January 2013

My Crafting Space

It's been a long time since I shared any pictures of my crafting space, it's nothing fancy but it's all mine and I love it!

Here is my main workspace


Eek, I didn't realise how bowed my shelving unit was till I saw this picture! I like to keep the things I use most often close to hand. My PTI stamps, markers and ink pads and my most used items. I keep all my markers, pens, pencils and tools in the little blue drawers. The little beige tins are Quickutz storage and I keep loose embellishments and miscellaneous small items in them.


I have two of the old Quickutz Magpie storage units which have sadly been discontinued, I would have loved a third one. I keep all of my Promarkers in colour families in the cubby holes, spare nibs and markers are kept in the drawers beneath, I have a small collection of Flexmarkers in the second cube. I am now a convert to the useability of Flexmarkers and am looking to swap over to using them exclusively.

 
On the top I keep a small selection of ribbons, my beloved button jar and my newest purchase, washi tape (I know, I am late to the party!)


I love this part of my storage, the rainbow colours of my memento ink pads, however, with the news that Tsukineko are releasing pigment ink pads to match the dye ink pads, I have no idea where I will store them all!


The green folder to the left of the units is my Martha Stewart folder in which I keep all of my dies. I love all the different pocket sizes you can buy, and I like to keep any spare dies cuts in the same pocket, it really is perfect. I bought my folder when I visited Canada last year, but I was so pleased to find that they now carry the whole range in Staples in the UK so it is easy to buy extras.

Now, please excuse the mess...


This is my Ikea Expedit unit that sits on the wall behind me so I simply have to swivel round in my chair to get access to all my supplies. The grey drawers hold my heat and glue guns, all of my gems and lots of small embellishments. Beneath my big shot there are four 'bins' that keep all my punches, Spellbinder/Sizzix dies, more cardstock and the inevitable 'junk drawer'.


On top is the home made 'clip it up' that my darling husband made for me, love it so much!

 
To the right of my expedit is a set of metal drawers which were, how do I say it, purloined from my wonderful Mum, I had my eye on them for ages and one day when she was having a tidy up I asked if I may have them and luckily she said yes! I have grand plans to rub them down and spray them duck egg blue and white, it's just another thing to go on my to do list!


Finally a glimpse into some of the drawers, mini ink pads, Tim Holtz pads, Hero Arts stamps to name just a few, it is surprising just how much these drawers can hold!

I hope you enjoyed the little tour, there are quite a few things I didn't get round to showing, including the 'Cupboard of Doom' but maybe I will save that for another day!

Thanks for looking
Ang x

Friday, 25 January 2013

Papertrey January Blog Hop Challenge

Every month Papertrey Ink has a blog hop and this month the theme is Black Backgrounds. Here is my entry.


I used my favourite Strawberry Patch stamps and sentiments, embossed in white then simply coloured with my watercolour pencils, I am really loving this look at the moment. I am so annoyed that my pictures are coming out so badly, the snow outside really doesn't help when placed next to the window and my OTT light isn't much better, oh well, I can't wait for sunnier days!

Thanks for looking
Ang x
Saturday, 19 January 2013

Make it Monday Part 2

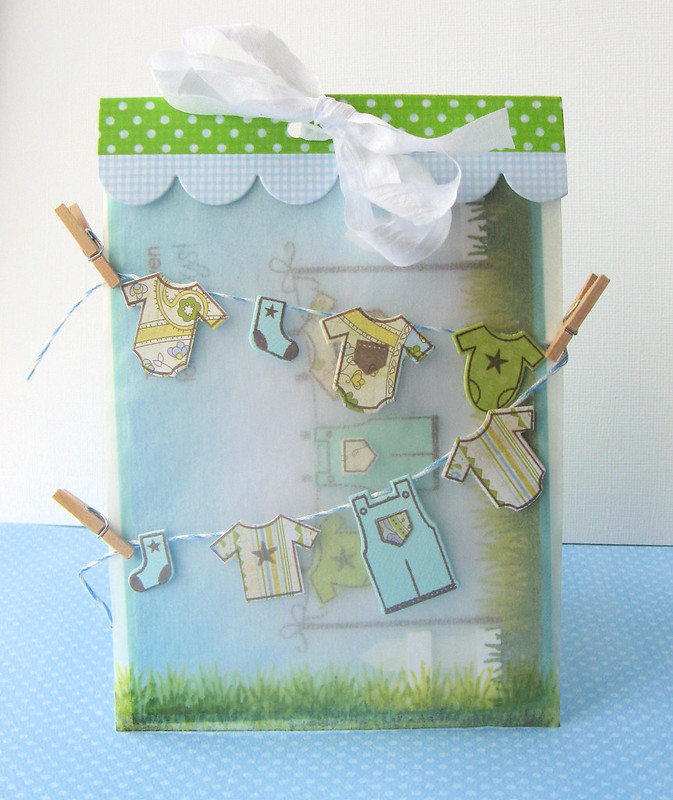
So, I could not resist making a second entry for Make it Monday #100, I had just the idea in mind :)

 
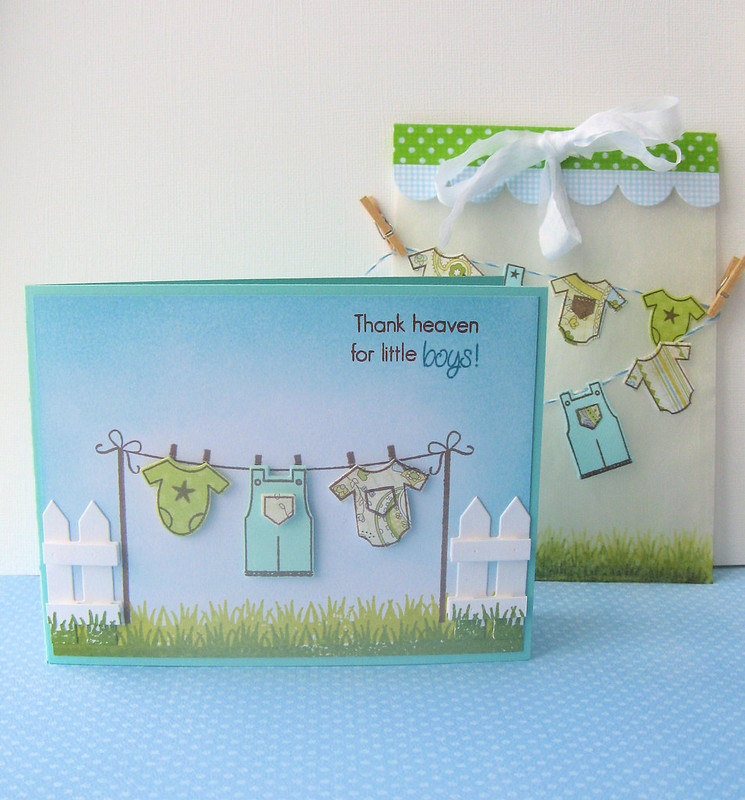
My friend has just given birth to an adorable baby boy and I know that she will love this card. I used the Hanging Out dies and stamps to decorate the card and glassine bag, adding a little bit of twine, some washi and the picket fence dies.

Thanks for looking!
Ang x

Make it Monday #100 Part 1

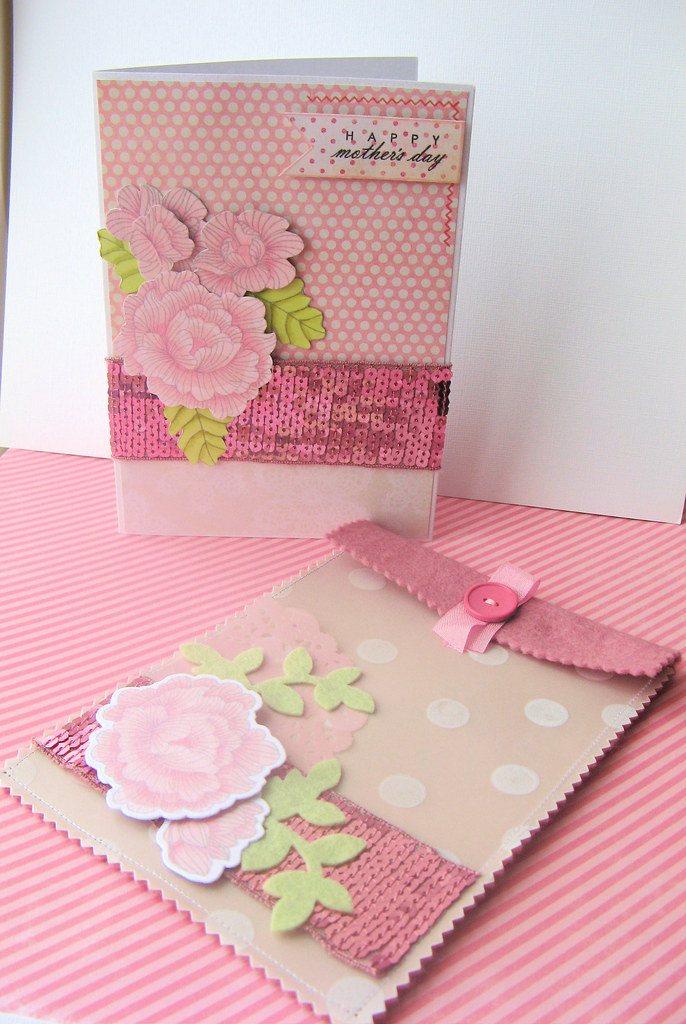
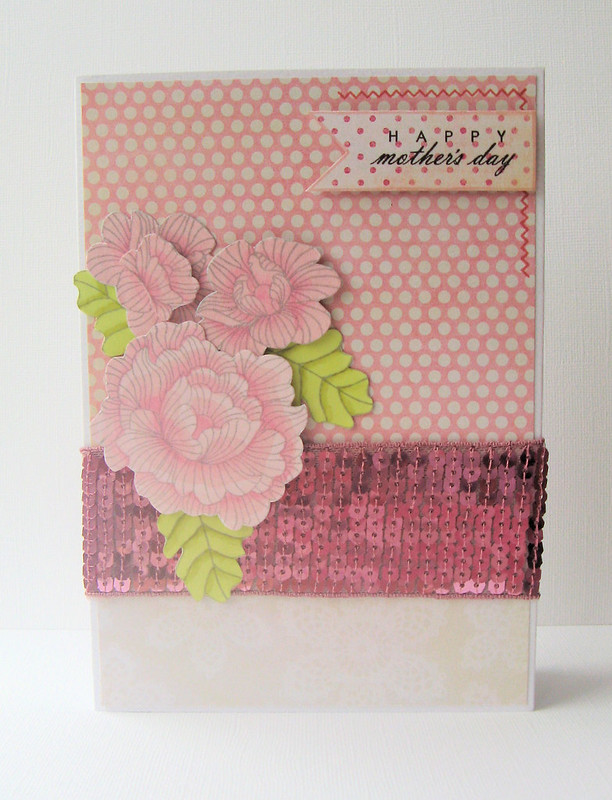
It is Papertrey Ink's one hundreth Make it Monday and in honour of this they are giving away a $100 gift certificate to the winner, that will buy quite a few stamps! This week it is how to package cards with oversized embellishments. I recently made a Mother's Day card for my lovely Mum (Mother's Day in the UK is on Sunday the 10th of March) and I used a number of foam pads to add depth to my card and had trouble fitting it in a normal envelope, so I created this pretty pouch.

 
I sewed pink felt and vellum together to make the pouch, stamped the front using a dot from PTI Daydreamer set using PTI Fresh Snow Ink, always make sure to heat set pigment ink on vellum as it takes forever to dry. I then embellished it with a pink vellum doily using the Parisian Doily Die, felt leaves die cut using one of the dies from Turning a New Leaf topped with some In Bloom flowers coloured with Promarkers.


I'll be back again with another take on MIM, Thanks for looking!
Ang x

Friday, 11 January 2013

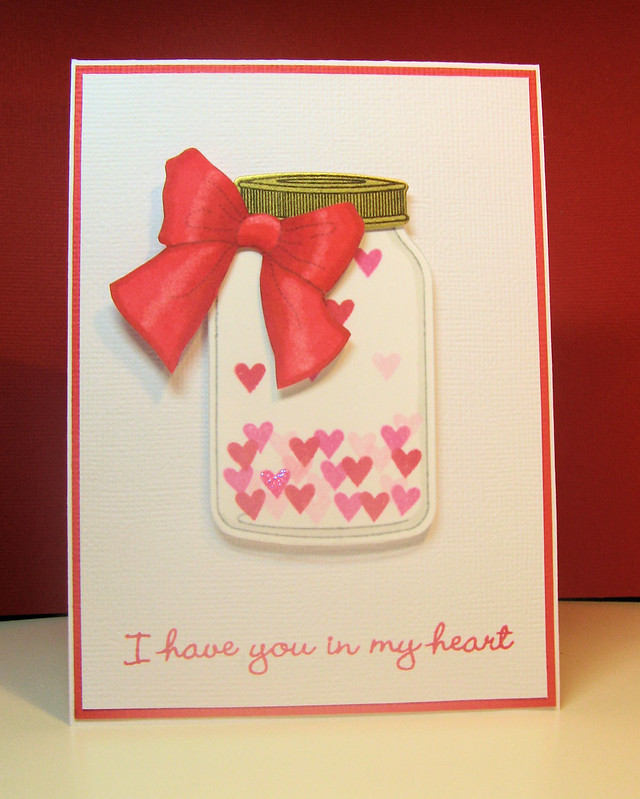
CASE Study Challenge #123

Over at the Case Study Challenge Blog their muse this month is the talented Amber Kemp-Gerstel and the challenge this week is to use this pretty card as inspiration;


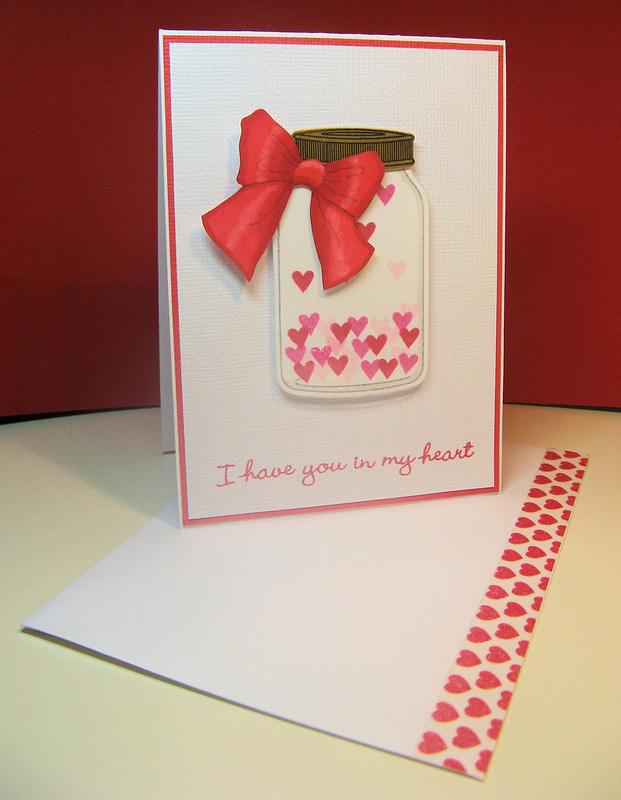
So, without further ado, here is my take;


Apologies for the poorly lit picture I am still working on better ways to take pictures at night! I used the PTI Friendship Jar and filled it with hearts from the PTI Sweet Baby set, although you can't see it in this picture I also die cut a jar out of acetate to place over the top to give it a nice glossy 'jar-like' finish. My favourite part was colouring the bow (from PTI Friendship Jar Summer Fillers) I'm not too good when it comes to colouring but I am getting better, I just need to practise more! I finished it all off with a sweet sentiment from Hero Arts.


I am also trying to work more on the inside of cards and envelopes, the quickest way to add a nice finishing touch was some heart print washi tape on the envelope.

Thanks for looking
Ang x

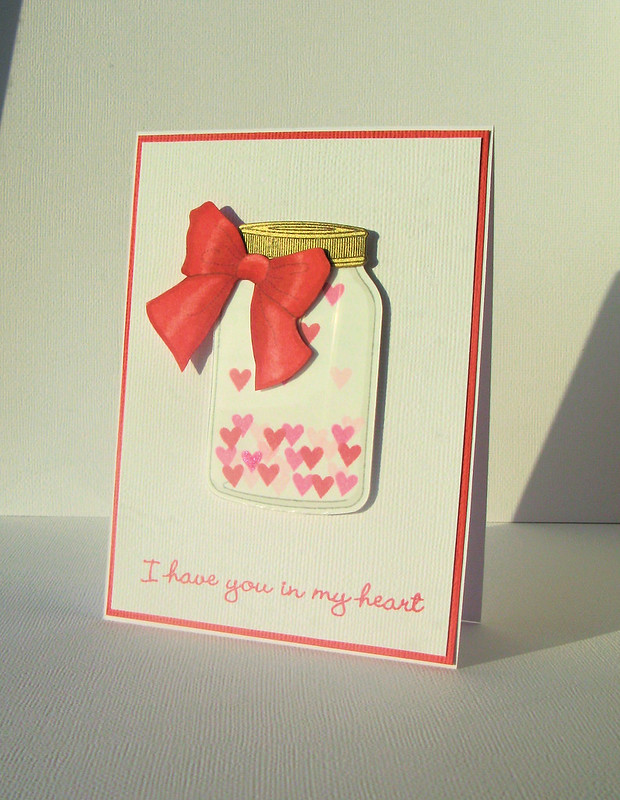
Update: Here is a marginally better photo! You can just about see the shine on the jar from the acetate.

Tuesday, 8 January 2013

Hero Arts Blog Challenge January 2013


I'm a big fan of Hero Arts product and try to enter their monthly challenges as often as I can, so I decided to join January's challenge. There were three different options to choose from or you could combine all three!


  • Try Something New — A new year is the perfect time to try something new! A new technique, new color combination, new stamp, new inkpad, new embellishment…anything new to YOU!
  • ATCs (Artist Trading Cards) — Miniature works of art created on a 2. 5″ x 3. 5″ base. Any theme goes! Be sure to check out Shari Carroll’s January technique article and video on ATCs.
  • Create a project using 3-4 colors from the palette below, inspired by our new Just Beachy ink cube pack. Color names are provided for reference but feel free to substitute similar shades.

  • I decided to go for a 'new to me' technique that I have been wanting to try for a long time, but have never got round to it, stamping metallics on acetate. I have had a platinum Staz-On pad for month's but have never wanted to crack it open for fear of it staining my stamps or drying out, well, I certainly won't be looking back now!

    I used the Antique Engravings stamp set for the butterflies, the aforementioned Staz-On and Pool Designer Papers for the background, I am pretty pleased with how it turned out, The only tip I would pass on is to be steady of hand when stamping as the risk of slipping on acetate seems to be increased 100 fold! you may find a stamp positioner useful (must get myself one of those one day).

    Have a happy Tuesday and thanks for looking!

    Ang x
    Monday, 7 January 2013

    Make It Monday #99 Repeats & Rainbows

    I am finding that entering challenges are really helping me kickstart my creativity for 2013. Here is my entry for Papertrey Ink's Make it Monday #99 Repeats and Rainbows

    I used a newly purchased set from a lovely lady on the sale/trade board, Scattered Showers which I have longed for for quite a while, coupled with Up, Up and Away Sentiment. I decided to mount it all on black cardstock to make the colours pop, the handle and sentiment are embossed in white and each umbrella is mounted on increasing layers of foam tape, unfortunately it doesn't show up so well in this photo!

    Thanks for looking!
    Ang x
    Saturday, 5 January 2013

    Make it Monday #98 - Take 2

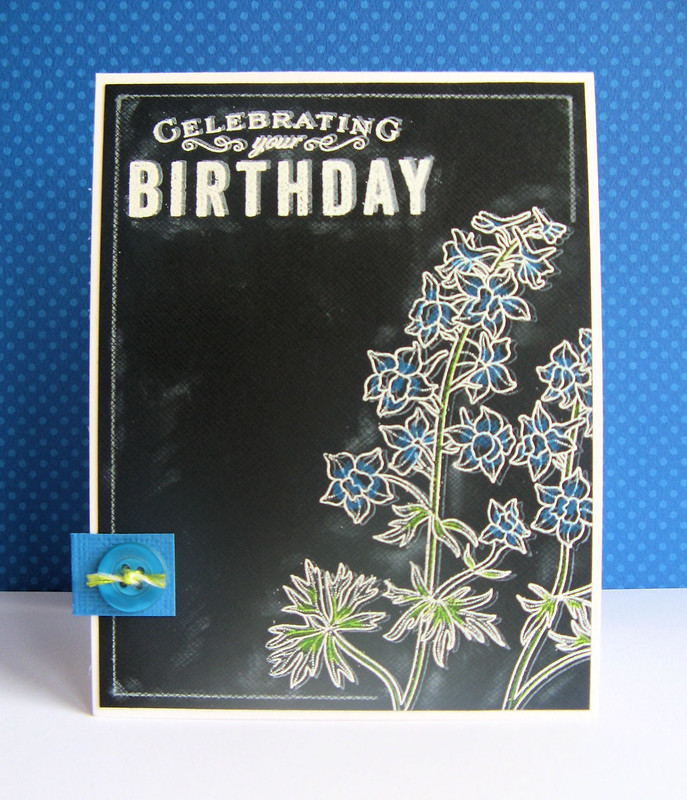
    As I said in my previous post, I really enjoy the chalkboard technique featured as this week's Papertrey Ink Make it Monday, I just had to make another..

     
    The flowers came out as I envisioned, but something is a little 'off', I think it's because it does not have as much detail in the blank space as my previous card and the 'chalk' smudges aren't quite right. I used Year of Flowers Larkspurs for the main image and Movers and Shakers Sentiments for the sentiment and coloured it in with my faithful Derwent Watercolour Pencils, faithful, because I have had them since I started secondary school and they are now *cough* over 20 years old and still in perfect condition!
     
    Thank you so much for all the kind comments on my previous card, they really made my day!
     
    Happy Saturday, Ang x

    Monday, 31 December 2012

    Make it Monday #98 - Last card of 2012

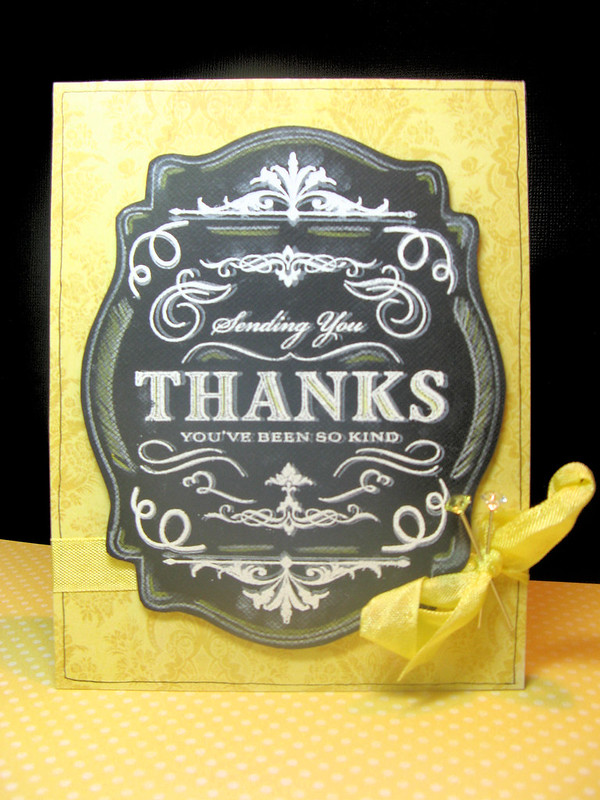
    I cannot believe how quickly this year has flown and now we are just hours away from 2013. I decided to whip up a card to enter in Papertrey Ink's Make it Monday - Chalkboard Technique.

     
    I am constantly in awe of the creative genius that is Betsy Veldman and I have used the techniques she demonstrated to make this card, I love this technique and style so much, I can see me making a  few more!

    I used the fabulous 'Thank You' set that was issued last year, Vintage Labels for the scroll work and Strawberry Patch for the little curlicues. I traced round Spellbinders Labels 18 and added some extra lines then added some shading using a yellow pencil. I then mounted it with foam tape on to some pretty yellow damask paper from My Mind's Eye Miss Caroline Pad, all finished off with some ribbon and pins from my Etsy store.

    Wishing you all health, wealth and happiness for 2013 - Ang x
    Saturday, 10 November 2012

    2012 Gift Ideas Part 1

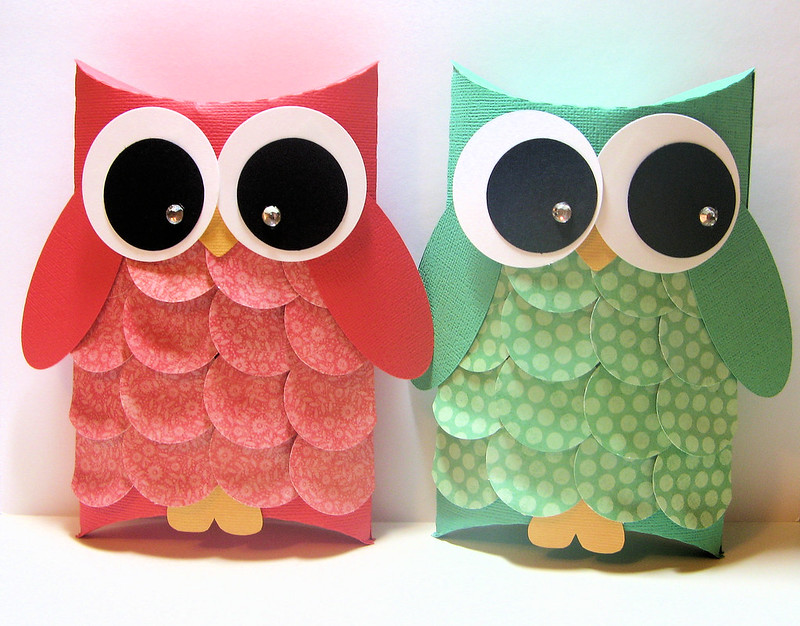
    As it gets closer and closer to my favourite time of year, I have started scouring the web looking for some cute little gift ideas that are budget friendly and to also use up my mountain of stash. I have found that one of the easiest gifts is filling up a pretty gift box with sweets. First up are these ADORABLE little owl pillow boxes.

    I wish I could take credit for the original idea, but I found these adorable ones on Pinterest and had to have a go! I didn't follow the instructions given to the letter, I simply cut a pillow box, circles and the wings on my Silhouette, punched some hearts for the beak and feet and they were ready to go!

    With big tins of sweets such as Roses, Quality Street and Celebrations on offer in most supermarkets for £5 I could have filled 6-7 of these with goodies, and standing at 7.5in tall and 4 3/4 inches wide they make a substantial looking gift.

    Well, with those finished, I'm off to look for some more inspiration!

    Have a great week :)

    Thursday, 27 September 2012

    Bits and Pieces 2

    Hello, If you are here from the I Spy My Mind's Eye blog post you can find my cards here :)

    Continuing my cards posted the other day where I have made use of scraps, I thought I would share some more. These cards came about after I found I had a lot of scraps from various 6x6 Crate Paper pads and it fit in with their August patterned paper challenge.


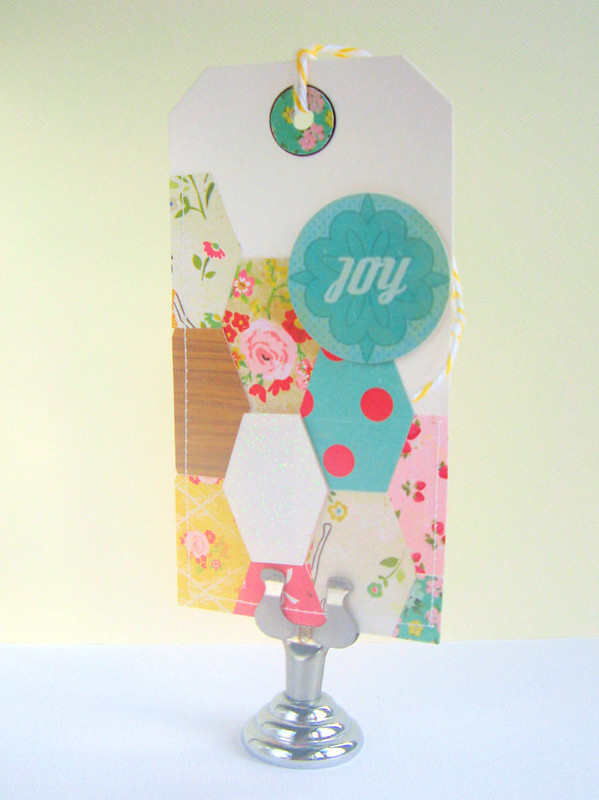
    I also created a matching envelope and tag to go with it

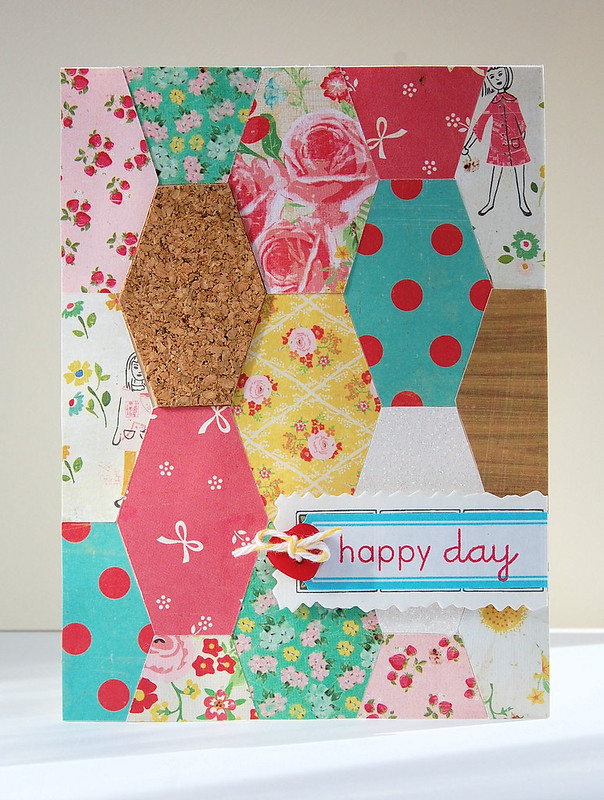
    I seem to have a ton of different sizes of hexagons cut out of these papers, I went a bit crazy with my silhouette to be honest! I am loathe to throw them away, so here's one more card.
    Now, I promise that will be the last of the hexagon cards.....in this paper anyway. I know, I know, I am over using the theme but I have always loved the look of hexagons, especially when they resemble an old quilt.

    Till next time, stay classy, thanks for stopping by, no, stay classy!
    

    Sunday, 23 September 2012

    Bits and Pieces 1

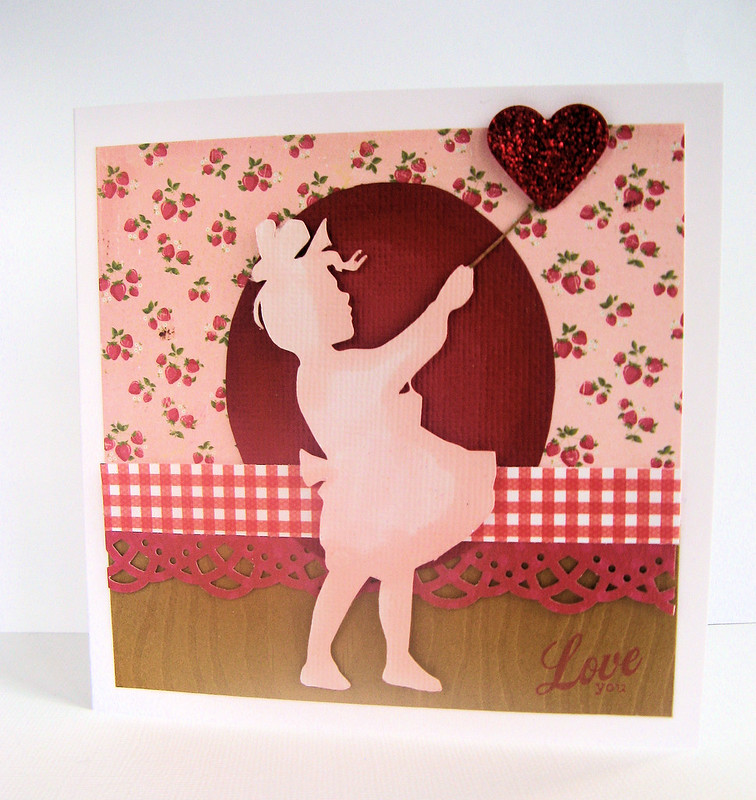
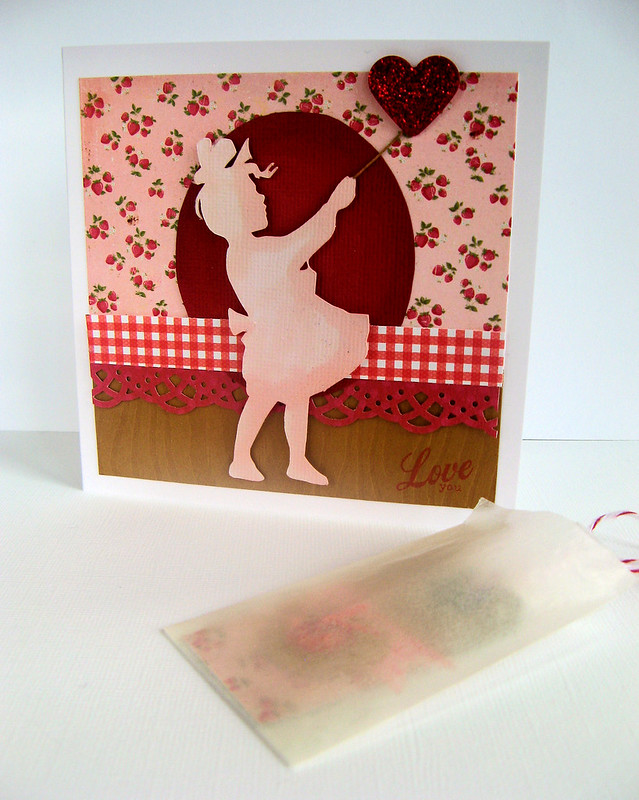
    Quite a while ago I decided that, if I had any left-overs from making a card, I was to use up all of the scraps on another card or project before moving on to the next. I made these two cards for the Hero Arts monthly challenge and was left with the positive shapes of the little girl and the balloon.

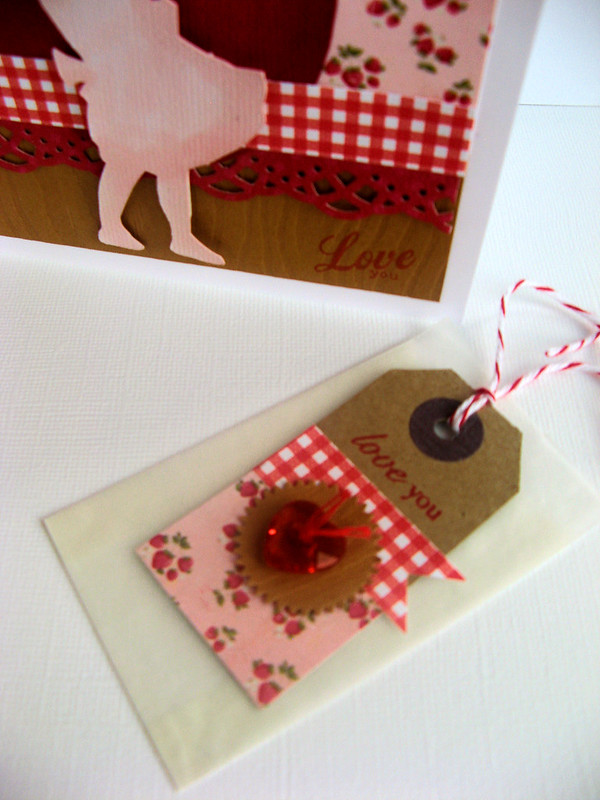
    I also made a matching mini-tag
    Apologies for the blurriness!
    Fortunately I had enough scraps to make 2 cards and 2 tags. I've got a few more cards to share that have just been made from the scraps of another project and I'll post them soon.

    Have a lovely sunday!