Monday, 18 March 2013

Feelin' Green

Green is one of my favourite colours and I love any reason to go with a monochromatic green scheme and last week I had two, a friend's engagement and the Moxie Fab World Ombre Challenge!

Here is the card that I came up with;
One look that I really like is pleated crepe paper, unfortunately I neither own the aforementioned product nor own it in several different shades of green, so I decided to make my own. Usually you can make it with double sided tape, however I end up all fingers and thumbs and it does not pleat right, I like a nice old fashioned box pleat.
I took a long strip of white crepe paper, approximately 1 1/4/" wide and used a long running stitch by hand to tack the pleats in place. I then coloured 5 pleated lengths using promarkers (colours used: Lime Zest, Meadow Green, Leaf Green, Grass and Forest Green). I adhered the strips to a panel of card and mounted it on a card base, I finished the pleats off with some gems in co-ordinating colours.
I did not have any co-ordinating ribbon so I coloured some 12mm Faux Silk Ribbon with a Lime Zest promarker. I added a little silver charm and a small sentiment label, with the decoration stamped in 3 different ink shades.
 I had a little bit of fun with the envelope too!
As I had some ribbon left over I thought I would make a litle seal for the envelope.

Phew, all done, I must admit I am a slow cardmaker and this took me a couple of days, I am so pleased my friend liked it and of course, it matched her beautiful peridot engagement ring. I have just realised I should have posted this yesterday on St Patrick's Day!

I also had some fun yesterday discovering my card from this post in Papercraft Inspirations :) and if the magazine has brought you here, hello, thanks for visiting!

 
Don't have Papercraft Inspirations in your area? Would you like to win a set of this month's Country Companions stamps and mini papers? (yes, I bought 2 copies) Just enter a comment to win, a winner will be chosen on the 31st of March.
 
Have a great week,
 
Ang x
 
Edited to add: Here is a very poor quality pic of the stamps and papers!
 

Saturday, 16 March 2013

Love This>Written On Ribbon.

I am a new customer to Wplus9, my first purchase was the fabulous Folk Art Florals which I adore and I have just purchased the gorgeous Written on Ribbon stamp set and die and could not wait to combine the two together, these really are wonderful stamps.

Here are two cards made with the two sets;


I think the ribbon banner and die cut have a truly classic feel, and, I would love to try and use it to recreate a more 'traditional' tattoo art style, I also think it will work perfectly on male cards. It is so versatile that I can't wait to try some more styles when I next have time to craft.
 
I haven't even begun to use all of the images in Folk Art Florals, I have to say that this card is one of my favourite inspiration pieces for this set.


Do you have any favourite cards made with this set? Be sure to share them in the comments :)

Monday, 4 March 2013

Happy Mother's Day

They can go by many different titles in their life, nursemaid, chef, teacher, taxi driver, cleaner, supporter, friend, but, most commonly known as Mum.

It's that time of year where we celebrate those wonderful women who brought us into this world, or to give thanks to those special women in your life who have been there for you whenever you have needed them.

Mother's Day is celebrated in the UK and Ireland on Sunday March the 10th. Originally Mothering Sunday had it's roots in the church, however by the mid 1930's the custom had largely declined in the UK and Europe. During WWII US soldiers re-introduced the holiday to the UK and by the 1950's it had a resurgence of popularity and was celebrated on the fourth Sunday during Lent to bring it in line with the centuries old tradition of Mothering Sunday.

In the USA, Canada, Australia and in many other countries Mother's Day is celebrated on May 12th 2013. If you are interested in learning more, why not have a look here.

Without further ado, here are the cards I have created for those special women.

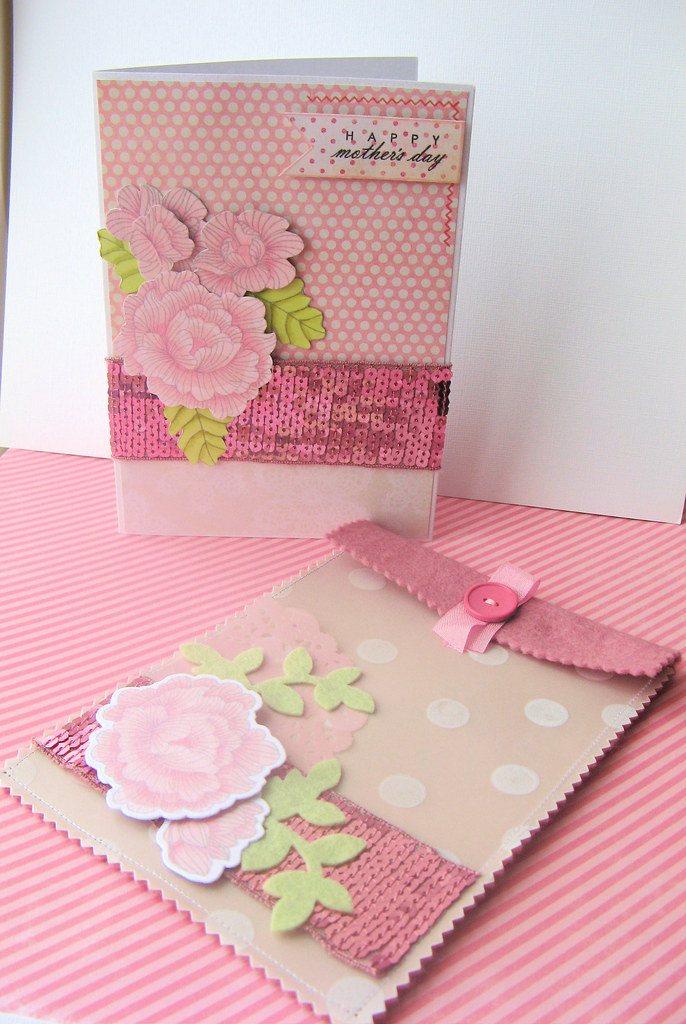
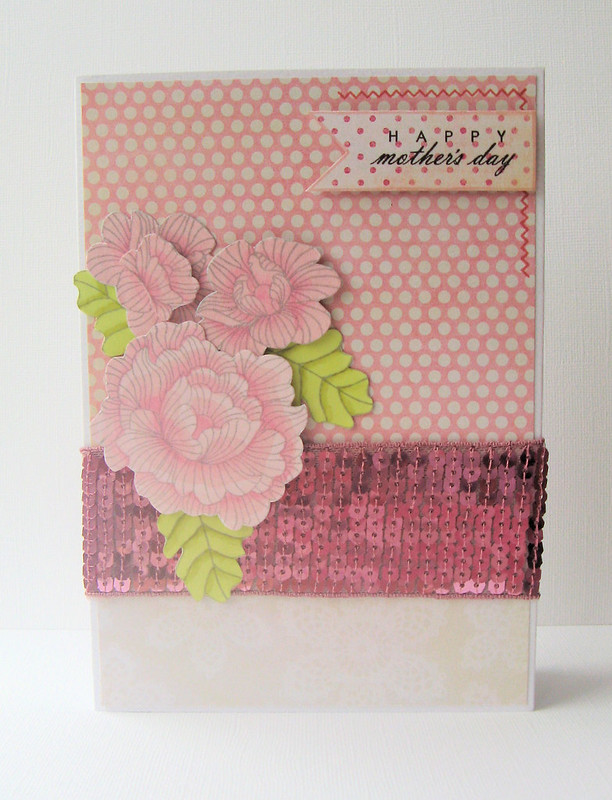
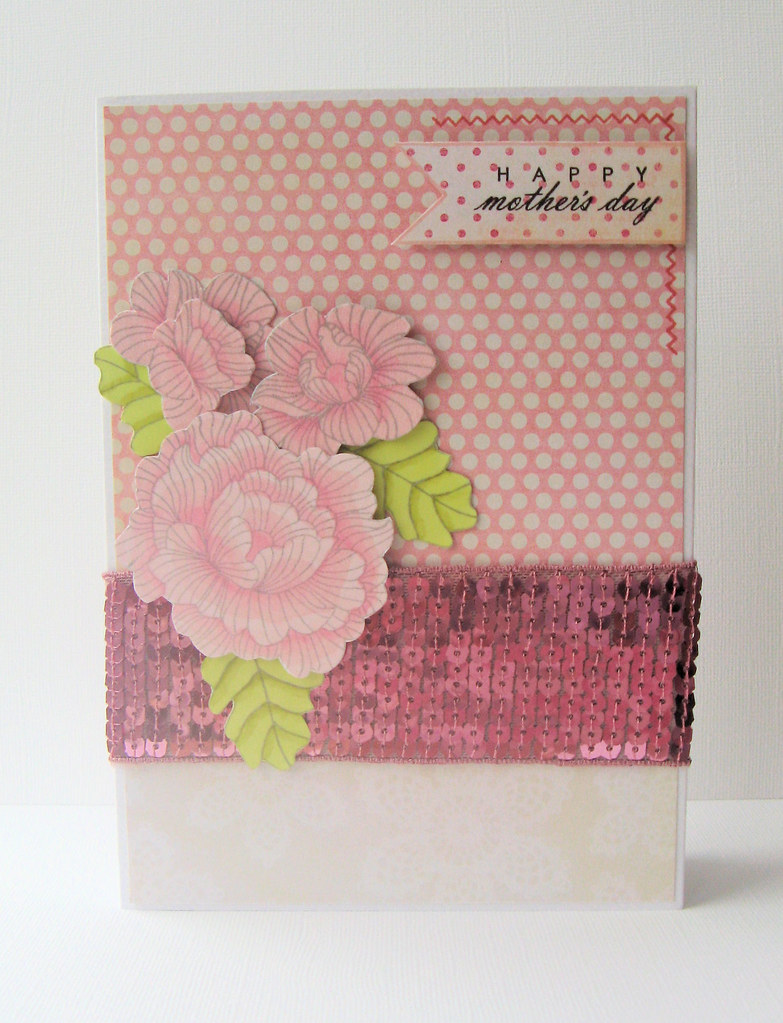
This card for my Mum was created in part for a challenge earlier this year, for more details, hop on over to the original blog post here. Along with the card I also made this pretty pouch to contain it;


The next two cards are newer creations.
 
This one is for my Nanna using Papertrey Ink's Spring Friendship Fillers and coloured with Promarkers.
 

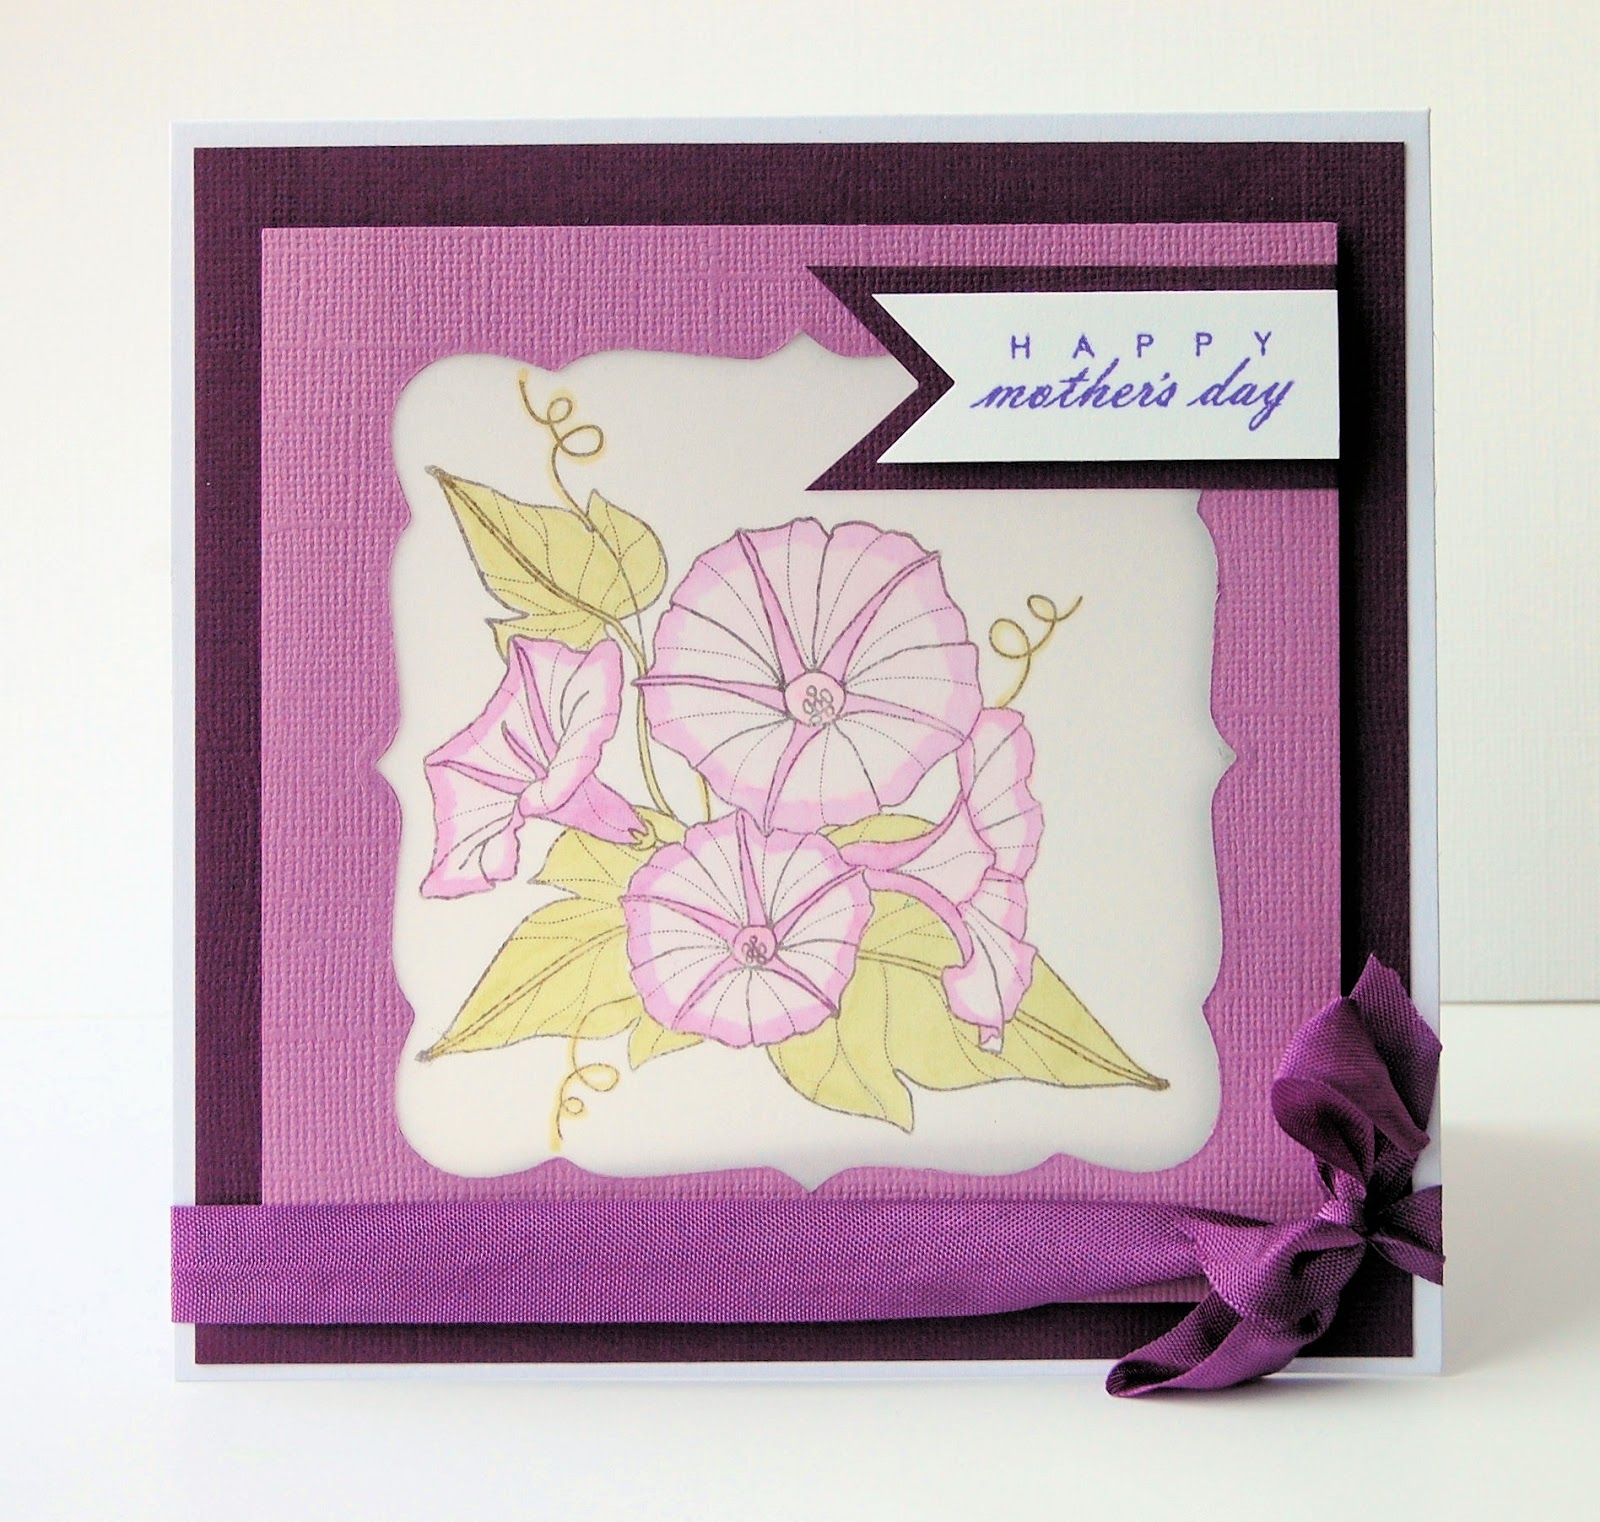
This is for my Mother In Law using Papertrey Ink Year of Flowers Morning Glories, I stamped them on vellum and lightly coloured them with Promarkers, when the card is opened for display it gives a subtle stained glass effect.

I had best be off, I need to find that perfect present to go with the cards!

Take care
Ang x

Saturday, 2 March 2013

Sharing My Excitement

You will have to excuse me, I have to share some news that was very exciting for me, my first ever published card in one of my favourite magazines!

 
I made this card last August for a Papercrafts Magazine publishing call and was so happy to receive an email telling me that it was accepted, it's been so hard to keep the news under my hat!
 
I have never submitted a card for a call before, mainly because I didn't believe in myself enough to do so, so many thoughts of the other fantastic card makers out there and how could I compete? well, I am proof that if you never enter you will never know!
 
And here is the magazine which will be kept for posterity..
 
 
And here is another card that I submitted that wasn't picked up
 
 
Thank you for letting me share my excitement!
 
Ang x x

Thursday, 21 February 2013

Hero Arts Love and Lace Challenge

Here are my entries for the Hero Arts Love and Lace challenge

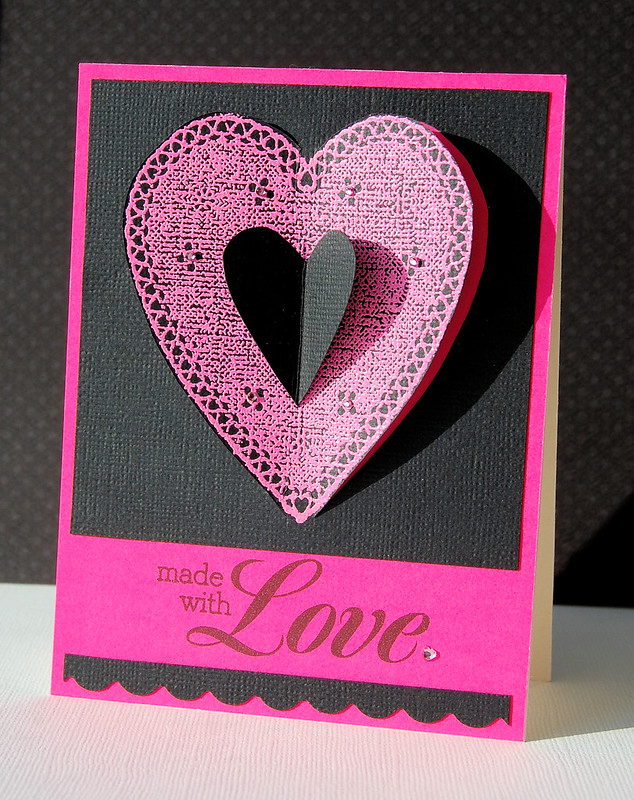
This is my love entry;
This is the result of my burgeoining love affair with neon. I really covet the Hero Arts Neon Inks, they shall be mine one day! I stamped the heart using the wood block Hero Arts Heart Lace K5236 and pink embossing powder, I then cut around the heart leaving a small piece attached at the top at the bottom so I could fold the heart inwards to show the neon paper underneath, I then used foam pads to add dimension and added a black heart in the centre. The sentiment was stamped with Made with Love CL491.

Here is my lace entry;
I used Doily Circle CGI68 and embossed it with clear embossing powder and spritzed over the top with spray ink. I liked the way the pink looked with the turquoise so I mounted it on a pink card base and added some pink pearls and some twine. The sentiment is from CL270 Sky's the Limit.
 
Thanks for looking!
 
Ang


Wednesday, 20 February 2013

CAS-ual Fridays CFC90

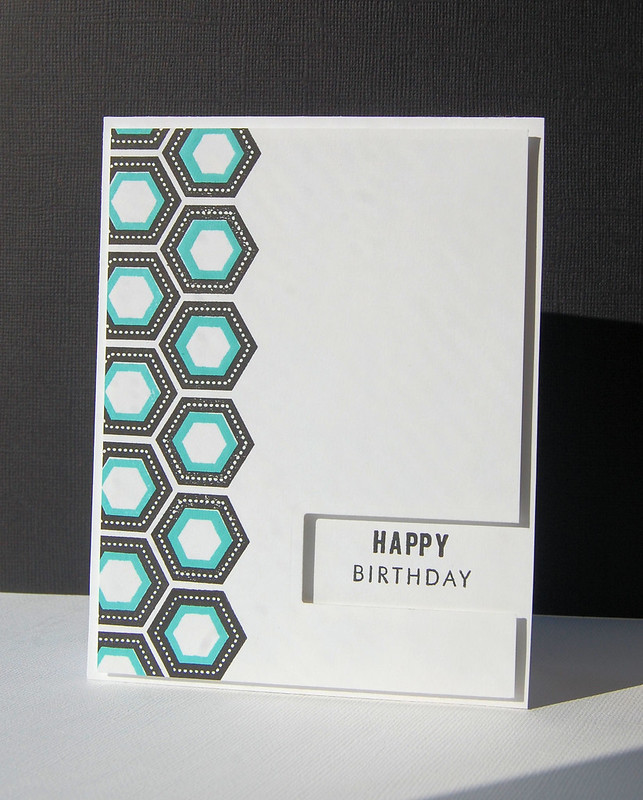
In the spirit of entering more challenges I thought I would have a go at entering CAS-ual Fridays challenge to create a card in black and white and one colour of your choice. I decided on aqua as it's my favourite colour at the moment. I tried to make this super clean and simple and I am not sure if I like it or not.
Clean and simple is such a departure from my normal style, I like to embellish and fiddle, I know that you can do that with CAS style, I am just not very good at it so I end up with something very plain. Oh well, if you never try then you risk getting stuck in a rut :)

Thanks for looking
Ang

Update: 23/02/13 - Well, this came as a lovely surprise! Thank you CAS-ual Fridays.

Thursday, 14 February 2013

Valentine's Day Treat Bags

Being on the road in my old job meant I did not get to see my colleagues very often, now I work in an office it is nice to spend time with the same people on a daily basis. For Valentine's Day I thought it would be fun to create some treat bags for my co-workers.

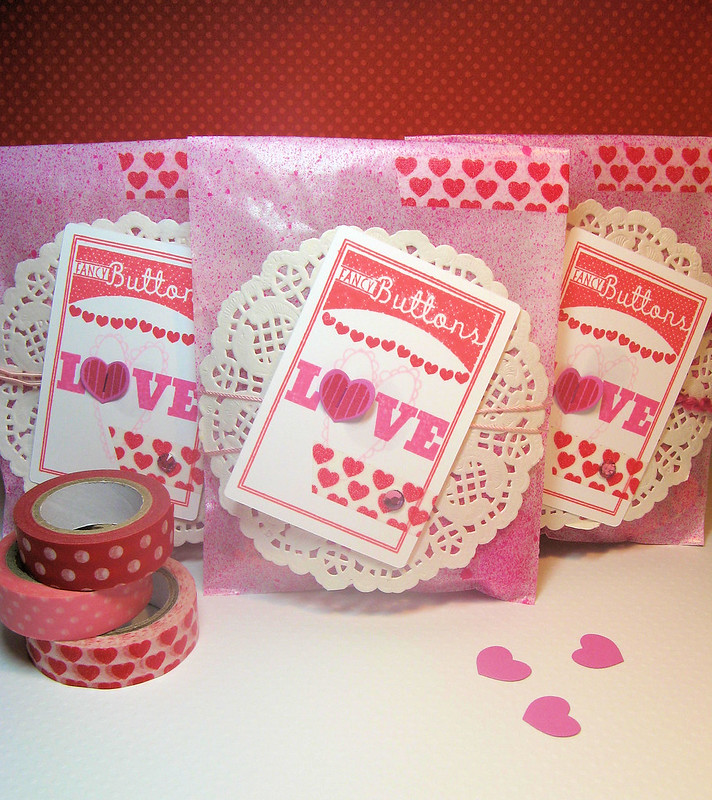
These were so easy to make when you have a little 'production line' going.  I laid out the glassine sacks and sprayed them with pink misting spray and a touch of glitter varnish spray, whilst they were drying I die cut and stamped the button cards in stages, once they were all prepared it was an quick task to assemble them with some paper doilies, thread and some washi tape. I managed to make 14 of these little beauties in a couple of hours (I am a notoriously slow crafter though!)
 
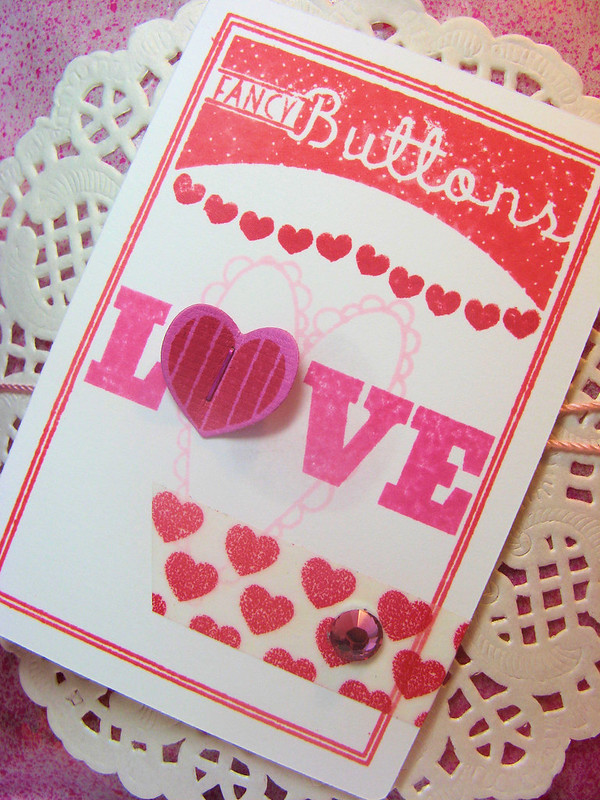
I used Papertrey Ink Button Boutique for the main image on the card, the scalloped heart is an old Pink Paislee Stamp, I finished it off with PTI's Heart 2 Heart 11 for the small hearts and the love word. I used the accompanying die to die cut the hearts which I attached with my Tim Holtz Tiny Attacher, I also coloured the staples with a promarker to make it look prettier. I finished it off with some love heart washi and a pretty pink gem.
 
I didn't have enough of the same coloured twine so I used a variety of different pink threads that I had in my sewing box. I filled these with chocolate hearts and coins, lovehearts sweets, lollipops and, the best part, a mini Malteaser bunny, those little things are seriously addictive, nom, nom, nom!

I hope that you have a Happy Valentine's Day!

Thanks for looking
Ang


Sunday, 10 February 2013

Papertrey Anniversary Entry #2 - Sketch Challenge

Continuing in on the festivites over at Papertrey Ink, here is my entry for the Sketch Challenge;

I used Snowflake Flurries and the matching dies to create a fun happy birthday card, I just love this colour combination of Orange Zest and Hawaiian Shores. Here is a look at my desk during the process;
 

I am quite a neat crafter! I just can't seem to abide lots of bits and pieces everywhere, this is as bad as it gets, however I think being so neat doesn't allow my to unlock my 'devil may care' crafting side.

Thanks for looking!
Ang x

Papertrey Anniversary Entry #1

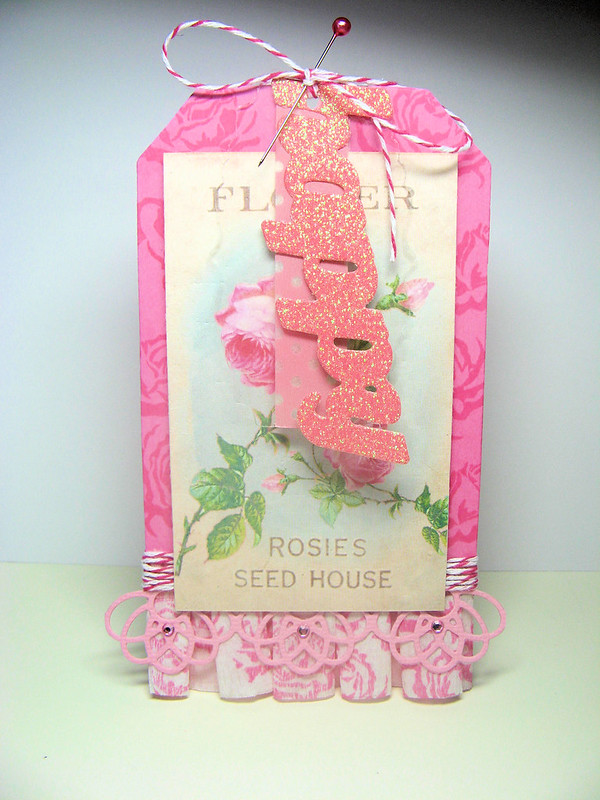
If you are a fan of Papertrey Ink, you probably know they are holding their anniversary celebrations with lots of contests and prizes, including winning a year's worth of stamps! Here is my entry for today's challenge to create a wrap, tag or gift wrapping using a photo from pinterest or any other site. So here is my entry...


Inspired by this pin...

 
I bought the rose paper today but have no idea who made it! PTI dies used for the word, clear label and border. I stamped the background of the tag and the crepe ruffle with the Sweet Life stamps.

Thanks for looking!

Ang

Thursday, 7 February 2013

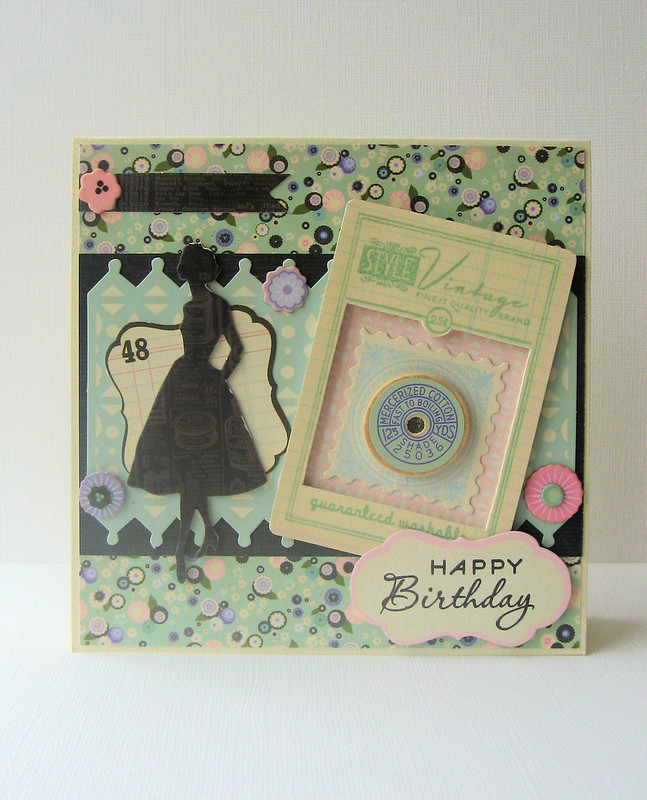
Revisiting Vintage Vogue by Pink Paislee

Have you ever bought a paper line that you loved so much but didn't want to use? Duh! silly question if you are a crafter. I think many of us hoard papers and embellishments that we think are too pretty to use, I know that I am guilty of this many times over. When I first saw the Vintage Vogue collection by Pink Paislee, I fell in love, so much so that along the way I acquired multiples of the paper pack and embellishments, however, I only discovered this the other week so I decided it was time to pull it all out and get stuck in.


I always find that I have a shortage of birthday cards, so I was sure to make a couple that I hope will be liked by the recipients.

 
A relatively clean and simple card that seems right for any occasion.

 
Gotta use up those scraps, and I certainly did with this one! I think I need to pay better attention to the scallop placement next time, it's ever so slightly wonky!

 
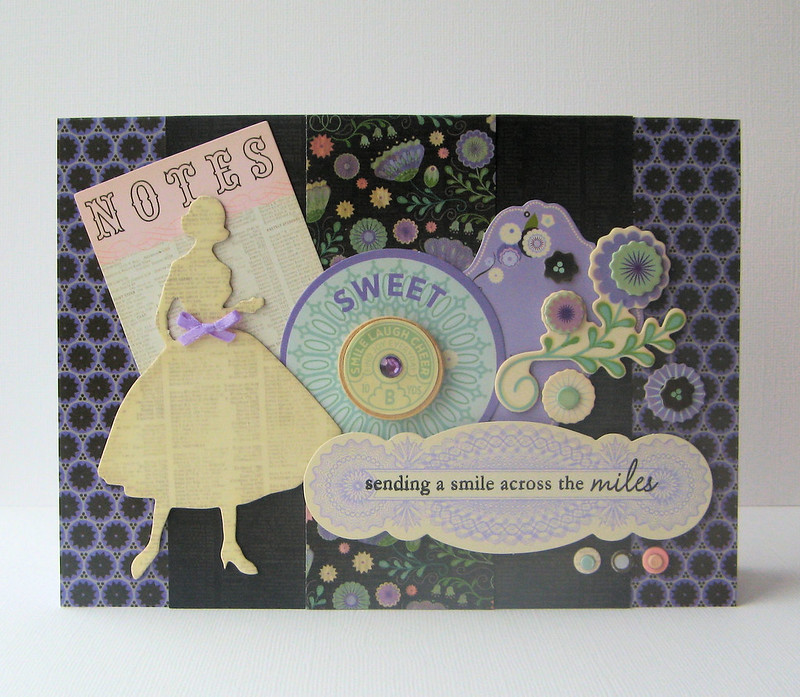
This one is for my bestest friend, she's like a sister to me, unfortunately she lives thousands of miles away, so I don't get to see her as often as I would like. I intend to send this to her to (hopefully) brighten up her day and let her know that I am thinking of her always. I could not seem to stop adding embellishments to this one, I need to know when to stop!

What was surprising was I the fact that I managed to make two male cards from this definitely 'girly' line.


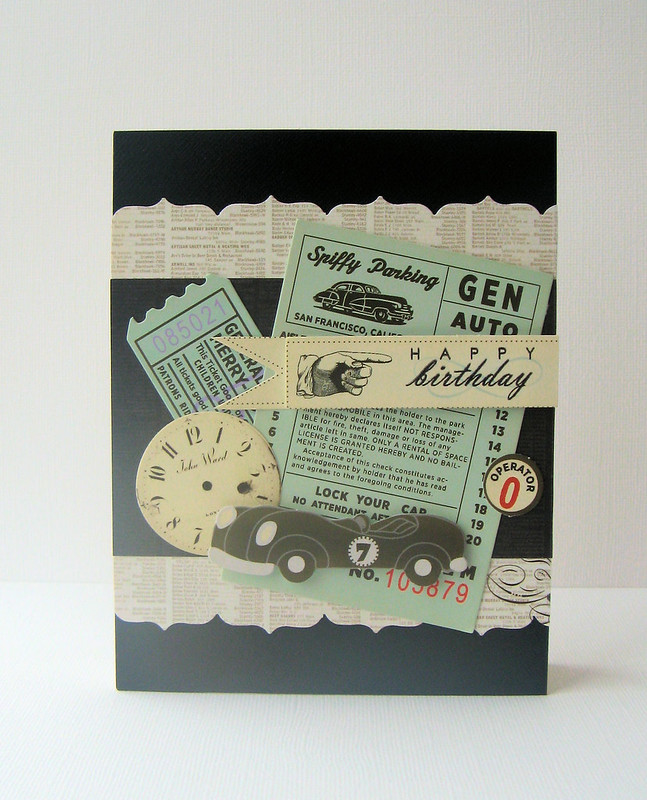
This is for my husband's best friend that works in the car industry.


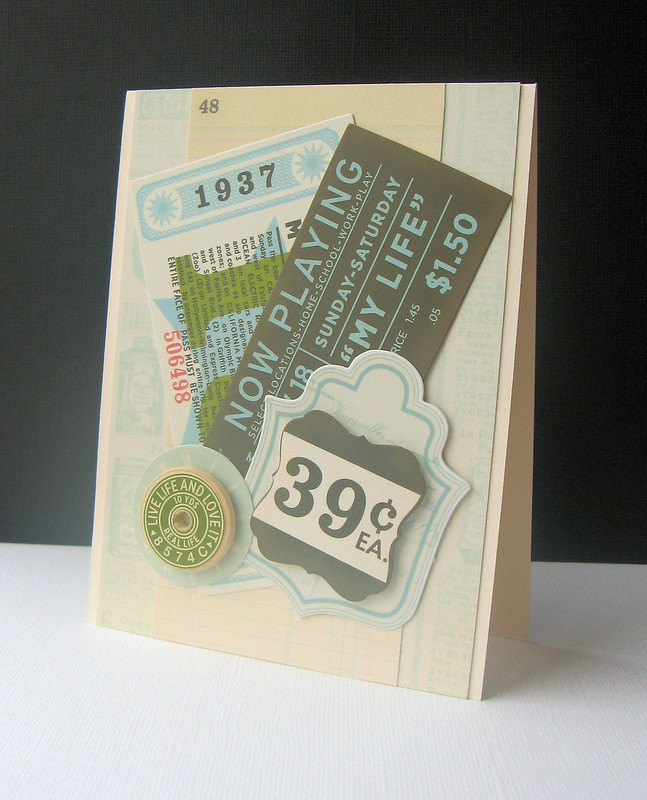
and finally, this is for my darling husband who turned the grand old age of 39 last month! If you made it all the way to the bottom of this post, thank you!

Have a great day
Ang x

Sunday, 27 January 2013

My Crafting Space

It's been a long time since I shared any pictures of my crafting space, it's nothing fancy but it's all mine and I love it!

Here is my main workspace


Eek, I didn't realise how bowed my shelving unit was till I saw this picture! I like to keep the things I use most often close to hand. My PTI stamps, markers and ink pads and my most used items. I keep all my markers, pens, pencils and tools in the little blue drawers. The little beige tins are Quickutz storage and I keep loose embellishments and miscellaneous small items in them.


I have two of the old Quickutz Magpie storage units which have sadly been discontinued, I would have loved a third one. I keep all of my Promarkers in colour families in the cubby holes, spare nibs and markers are kept in the drawers beneath, I have a small collection of Flexmarkers in the second cube. I am now a convert to the useability of Flexmarkers and am looking to swap over to using them exclusively.

 
On the top I keep a small selection of ribbons, my beloved button jar and my newest purchase, washi tape (I know, I am late to the party!)


I love this part of my storage, the rainbow colours of my memento ink pads, however, with the news that Tsukineko are releasing pigment ink pads to match the dye ink pads, I have no idea where I will store them all!


The green folder to the left of the units is my Martha Stewart folder in which I keep all of my dies. I love all the different pocket sizes you can buy, and I like to keep any spare dies cuts in the same pocket, it really is perfect. I bought my folder when I visited Canada last year, but I was so pleased to find that they now carry the whole range in Staples in the UK so it is easy to buy extras.

Now, please excuse the mess...


This is my Ikea Expedit unit that sits on the wall behind me so I simply have to swivel round in my chair to get access to all my supplies. The grey drawers hold my heat and glue guns, all of my gems and lots of small embellishments. Beneath my big shot there are four 'bins' that keep all my punches, Spellbinder/Sizzix dies, more cardstock and the inevitable 'junk drawer'.


On top is the home made 'clip it up' that my darling husband made for me, love it so much!

 
To the right of my expedit is a set of metal drawers which were, how do I say it, purloined from my wonderful Mum, I had my eye on them for ages and one day when she was having a tidy up I asked if I may have them and luckily she said yes! I have grand plans to rub them down and spray them duck egg blue and white, it's just another thing to go on my to do list!


Finally a glimpse into some of the drawers, mini ink pads, Tim Holtz pads, Hero Arts stamps to name just a few, it is surprising just how much these drawers can hold!

I hope you enjoyed the little tour, there are quite a few things I didn't get round to showing, including the 'Cupboard of Doom' but maybe I will save that for another day!

Thanks for looking
Ang x

Friday, 25 January 2013

Papertrey January Blog Hop Challenge

Every month Papertrey Ink has a blog hop and this month the theme is Black Backgrounds. Here is my entry.


I used my favourite Strawberry Patch stamps and sentiments, embossed in white then simply coloured with my watercolour pencils, I am really loving this look at the moment. I am so annoyed that my pictures are coming out so badly, the snow outside really doesn't help when placed next to the window and my OTT light isn't much better, oh well, I can't wait for sunnier days!

Thanks for looking
Ang x
Saturday, 19 January 2013

Make it Monday Part 2

So, I could not resist making a second entry for Make it Monday #100, I had just the idea in mind :)

 
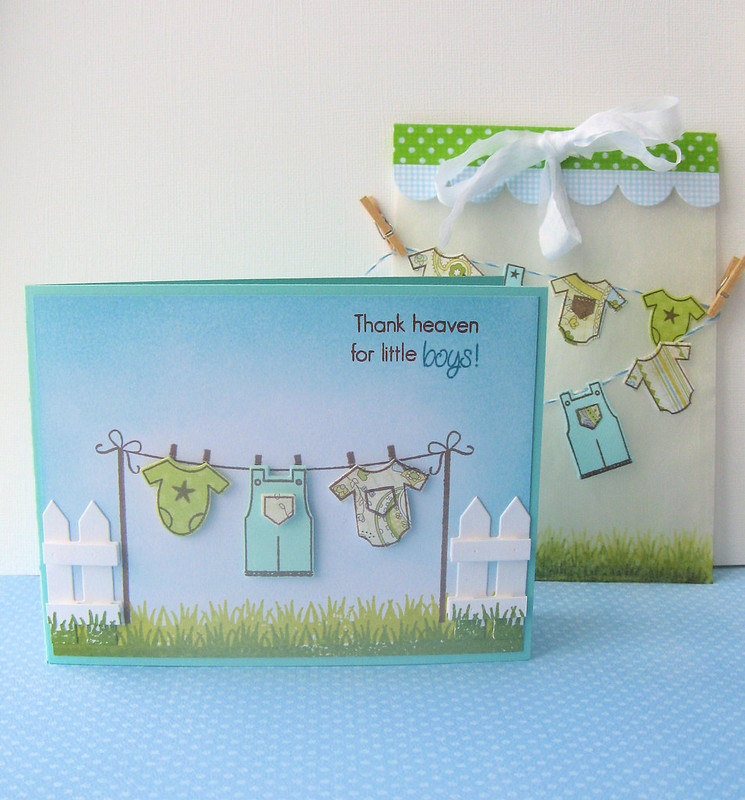
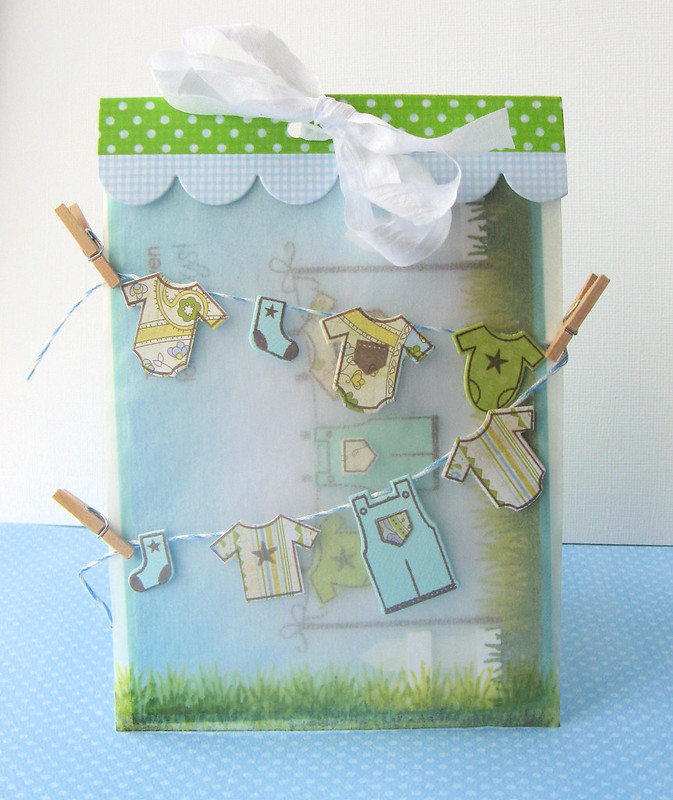
My friend has just given birth to an adorable baby boy and I know that she will love this card. I used the Hanging Out dies and stamps to decorate the card and glassine bag, adding a little bit of twine, some washi and the picket fence dies.

Thanks for looking!
Ang x
Make it Monday #100 Part 1

It is Papertrey Ink's one hundreth Make it Monday and in honour of this they are giving away a $100 gift certificate to the winner, that will buy quite a few stamps! This week it is how to package cards with oversized embellishments. I recently made a Mother's Day card for my lovely Mum (Mother's Day in the UK is on Sunday the 10th of March) and I used a number of foam pads to add depth to my card and had trouble fitting it in a normal envelope, so I created this pretty pouch.

 
I sewed pink felt and vellum together to make the pouch, stamped the front using a dot from PTI Daydreamer set using PTI Fresh Snow Ink, always make sure to heat set pigment ink on vellum as it takes forever to dry. I then embellished it with a pink vellum doily using the Parisian Doily Die, felt leaves die cut using one of the dies from Turning a New Leaf topped with some In Bloom flowers coloured with Promarkers.


I'll be back again with another take on MIM, Thanks for looking!
Ang x