Thursday, 28 January 2010

Hi, Hello, Howdy


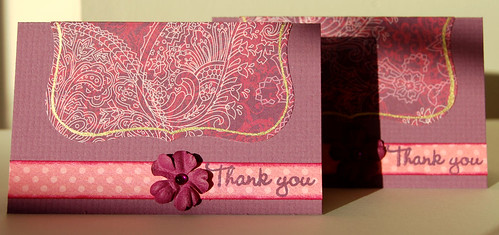
I love making little notecards. They are a great way to use up scraps of card and also a fun way to try new things. I am addicted to making cards in 2.5"x4", mainly becuase I have a stash of envelopes in that size!
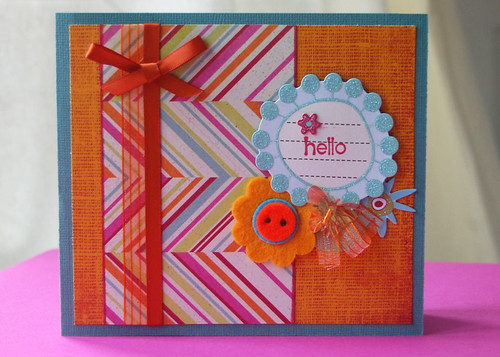
I wanted something bright and cheery that would allow me to use my newly amassed stash of Accessorize/Paperchase stickers which are just too, too cute! I also tried magic mesh which I have had kicking around for a few years and have never thought to use before.

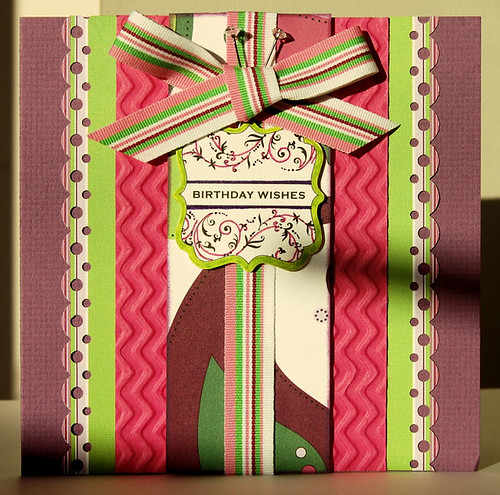
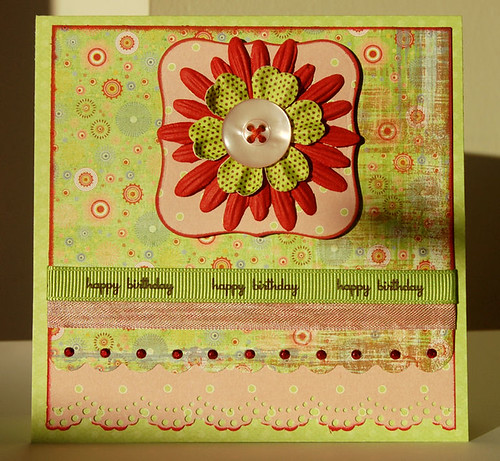
This one came about when I was making the get well soon card and had the stripy paper leftover. The papers are K&Co Greenhouse as is the journalling spot and some die cuts. The pretty felt flower is from crafty templates sugar, sugar kit. Hopefully it's cheerful colours will brighten someones day!

Tuesday, 26 January 2010

Valentine Presents


My best friend moved overseas a couple of years ago taking my adorable niece and nephew with her :) I try to send cards as often as I can and created these for my niece, nephew and BF's husband (BF gets an extra special card!) The stamp images were all cut using decorative scissors from K&Co paper, along with some embossed Doodlebug card and some paperchase stickers, I love how they turned out!

I'm also sending a ton of valentine and easter chocolates, a pack of notecards and these babies...


I've been working on this flower hairclip for a while, I had the outer petals and ribbon ruffle finished a couple of months ago but didn't know how to finish the centre. I found these pretty diamante flower buttons on eBay and they were just what I was looking for and add a nice little sparkle. My niece has the most beautiful, romantic looking curly hair and I hope this will look so pretty in her blonde curls.


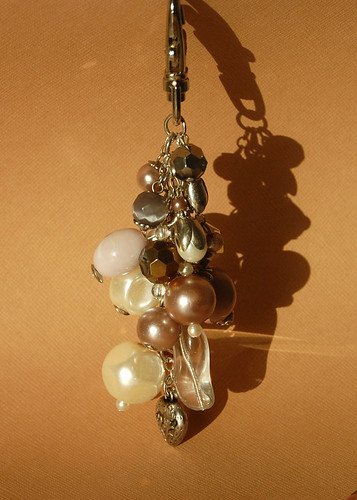
I really like making handbag keychains out of pretty beads so I made this one for my best friend. The beads were an absolute steal from Accessorize, in my local store they have a section for broken jewellery and I picked up some beautiful necklaces, brooches and bracelets for 10p-50p each. I was able to fix 2 and they would have cost me over £25 to buy! Anyway, I digress, one of the beads on a bracelet was covered in thread which had frayed so it was reduced to 10p, I simply removed the beads from the elastic and rewired them onto a length or keychain with a lobster clasp. The finished keychain is in shades of taupe, mushroom and soft rose, sounds a bit blah but looks really expensive, I'd like to keep it but every time I would see it on my bag I would feel guilty :)

Sunday, 24 January 2010

Get Well Soon


There are so many people around me at the moment who are poorly and whilst I might not be able to visit I can make them a card to let them know I am thinking of them. I had a good day of crafting today and was pleased to get a couple of projects finished in time for posting, I'll pop a couple of pictures up later.

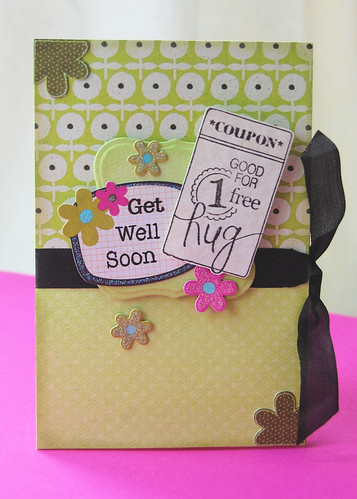
I love the green get well card, it's much more vivid IRL but the light was v. sucky today and I am still learning how to use my camera. It felt a bit different from the usual cards I make, I'm still experimenting with colour which you can see here

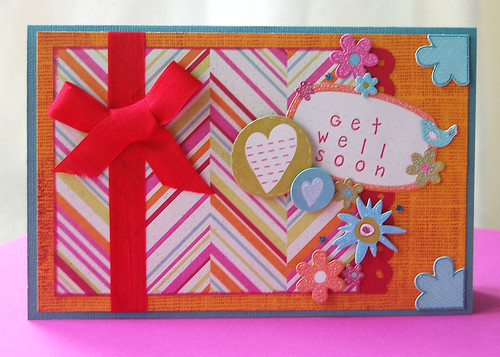
Okay, not ground breaking, but very, very bright for me! I think I like it, I also made a similar card with a different sentiment which I also post soon.

I don't have any specific rhyme or reason to my cardmaking, apart from specific occasions, I like to pull out different bits and pieces, see what works and generally have a 'play'. I have noticed that I tend to make the same birthday/hello cards so I am trying to cover some different occasions to plump out my card box in case I need a one in an emergency or if I don't have the time. I do need to make a baby card so I think that will be my next project and I'll make some extras for my box!

PS. Have you tried these?? I am convinced that they are the work of the devil because they are so delicious, you must try them, no, resist, run, save yourself!!

Sunday, 17 January 2010

One for the boys!


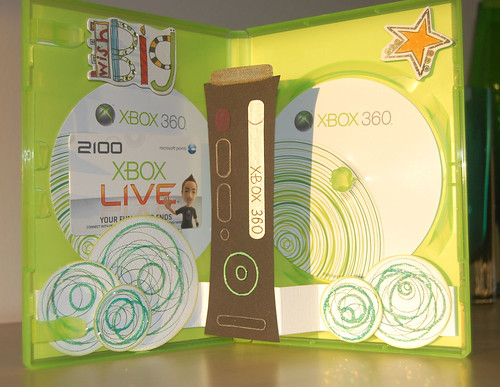
It was my darling husband's birthday on Saturday and I had been stressing about making him a card and having enough time to get it done. I had purchased him some XB360 live points for his birthday and decided to use the box as a card to go with the points.

I made a template for the 360 itself, cut out the various buttons and doo-dads and embellished them with metallic pencils, krylon silver pen and dimensional adhesive before attaching them to the template. I wanted it to 'pop' out a little when opened so I mounted it on a strip of card with a couple of creases so it would lay flat when closed. I added on some decorated die cut circles (although one dropped off leaving that little blank of white card to the template!) some stickers and finished it off by mounting the points card on with repositionable adhesive.

I didn't have as much time as I would have liked and there are some changes I would have made but I was happy with the finished card and fortunately for me he loved it and it now sits proudly in his office. Phew!

Wednesday, 13 January 2010

Lovely Letters - Crafty Templates


I was excited to find my Crafty Templates Love Letters kit in my letter box last week and couldn't wait to get started. Full of lovely red and kraft papers with splashes of cream and black, you can pick one up here

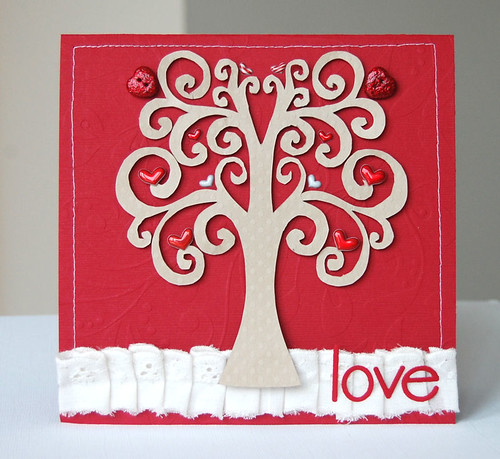
I loved the shape of the tree template and paired it with some accessorize stickers from my own stash.


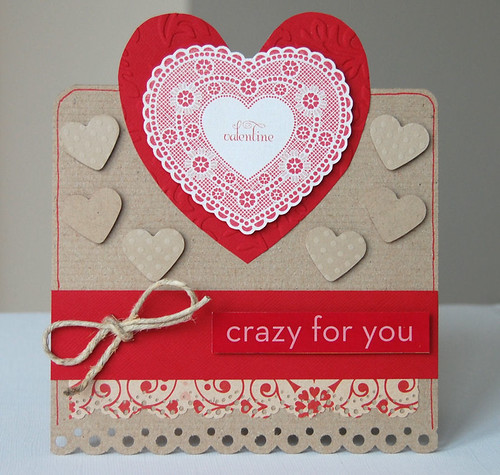
I liked the look of the plain kraft hearts in the background as it doesn't overwhelm. I just added MM sticker sentiment from my own stash.


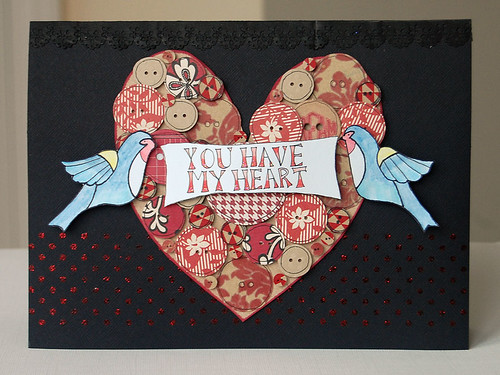
This is a combination of two templates, the button heart and banner birds. As soon as I saw the birds I knew that I wanted to colour them in a 'tattoo style', I don't have the fancy markers so I used my good old watercolour pencils and was happy how it turned out but would have liked them to be a bit more vibrant!


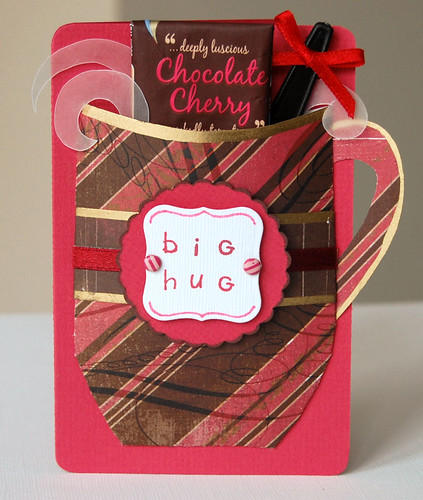
I used the mug template and added tabs on the side to make a little pouch and added a sachet of hot chocolate and a chocolate covered spoon as a sweet treat for the recipient :)


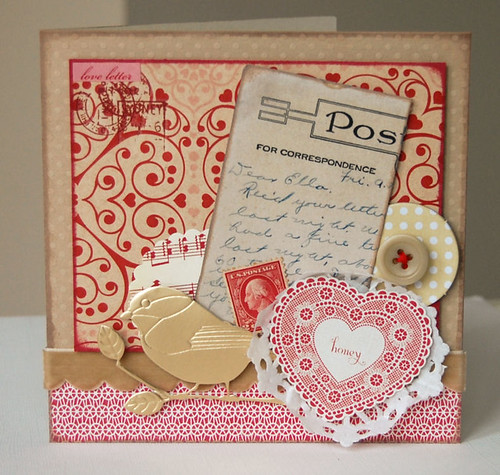
This one was made using some scraps from the kit, ribbon and chipboard button from previous kits, a sweet little gold birdie from a MM Vintage Findings kit (oh how I love MM vintage stuff) and a stamp from my dad's old stamp collection!

Till next time, I've been scrapping a bit over the past few days hence the lack of cards and I am seriously stressing over hubbies birthday card, I hope my idea translates but even if not I know he will appreciate the effort!

Sunday, 10 January 2010

Just a quickie


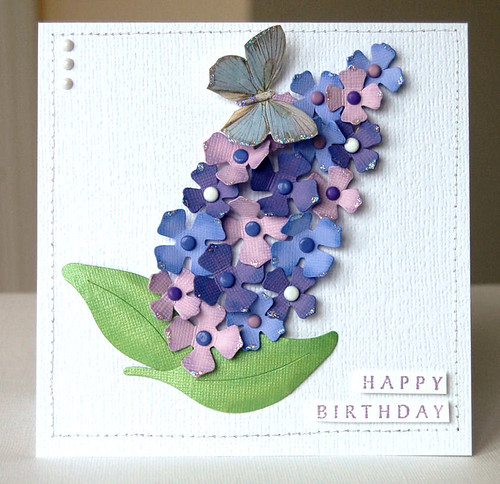
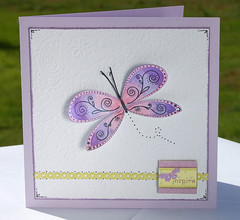
It's my husband's birthday next week and I am stuck for ideas on what to make for him, I don't tend to lean towards themed cards but I have a feeling it's the only way I am going to be able to come up with something. Dang it, I'm rubbish at creating male cards! It's also his Nanna's birthday the day after so this is what I whipped up for her using my new Sizzix lilac die, a Brenda Walton butterfly and lots of brads and i-dots.

Hope to share more later in the week using the yummy January Crafty Templates card kit!

Tuesday, 5 January 2010

Thank you very much, thank you very, very, very much!


The thank you very much ditty from the Roses chocolate advert has been running through my brain whilst making these cards. I love giving cards and thank you cards are no exception, we received some lovely christmas gifts so these cards were a must-make.

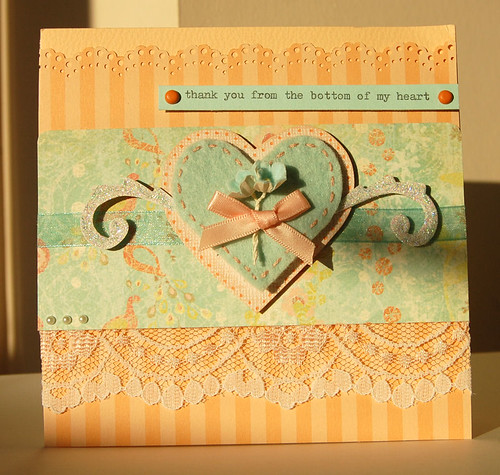
The peach and green card is for my mum and dad who spoilt me rotten and I knew they (ok, my mum) would appreciate something frilly and girly! It looks a bit squiffy in the picture but I promise it's not!


These were made from some paper I have had for a while but it felt christmassy yet not which suited the purpose perfectly!

Monday, 4 January 2010

Shield your eyes!!


I decided to try and make some cards outside my comfort zone but didn't really succeed as well as I would have hoped as they still were too comfortable to make, I thought using brighter colours and colours I wouldn't normally use would be a challenge, turns out not so much.


I think I need to frequent some 'challenge blogs' to really get me thinking differently, if you know of a good one please leave me a comment and let me know!

Sunday, 3 January 2010

Ushering in the new year.


Happy new year! I'm a few days late but I am back nonetheless. I moved house in early December, I knew that I would rather move before christmas than straight after but forgot what an upheaval it can be (seriously, who forgets that?) but I am now all moved in and settled and everything is where it should be and all I can say is thank goodness!

The biggest revelation was how much craft stuff I have, and it appears that I have enough to last until the end of this decade. I hope to give a few bits and pieces away on here then donate the rest to the local arts and crafts for seniors group.

I haven't had many opprtunities for crafting since I have moved and all hopes of making my own christmas cards were dashed due to work commitments and not being able to find anything! However, this week I was able to sit down and (semi) relax and create a few bits and pieces which I'll post over the next couple of days.

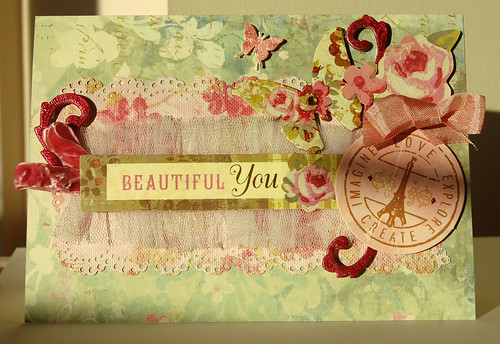
As I was organising my bits and pieces I found that I had quite a bit of K&Co Madeline papers and embellishments so decided to use some on a couple of cards but have hardly made a dent! I used some die cuts, seam binding ribbon and some hand tinted paper roses all finished off with some sparklies and pearls on the card at the top.


This one felt a little more out of my comfort zone, a little shabbier than usual. I used the aforementioned papers, some die cuts, gathered tulle, velvet ribbon and some sizzix die cut swirls painted with crackle paint and alcohol inks.

I hope you have all had a wonderful christmas and I wish you all a very happy new year and I am looking forward to sharing more craftiness during 2010!

Sunday, 15 November 2009

By Request

A lovely lady emailed me asking how I made my Butterfly Birthday Wishes card, so I thought I would share it here. For me, this card was all about texture, it is a little time consuming but gives you a very stroke-able card in return!

To make the card
1. Cut a piece of thick card half the size of your card blank, cover with wet glue, apply a layer of batting and allow to dry
2. Cover the top half of your card with patterned paper, I used flocked paper by Making Memories. Cut a frame from Bazzill, stamp with the stamp of your choice and apply perfect pearls. Mount the frame over the flocked paper.
3. Cover the batting with fabric, pull the fabric taut and glue in place. Evenly stitch over the top of the fabric and pull tight, tie ends in a knot and fluff the end of the thread.
4. I sewed small seed pearls along the bottom edge of my lace, then glued the top edge of the lace on the back of the fabric covered board then flipped it over to make a seamless finish. Glue the board and slip it under the edge of the frame so it slightly overlaps then stick in place.
5. Add your sentiment.

To make the butterflies
I used some K&Co chipboard butterflies which I traced onto grungeboard and then cut out. There are lots of digital templates or dingbats that you could use to create yours, or run it through a die cutter with your favourite die to make it even easier!
1. Cut out your butterflies, sandwich in your chosen embossing folder and run through your die cutting machine. I used Cuttlebug D'vine Swirl.
2. I painted mine white with acrylic paint, you could paint a coloured layer of base coat, then paint over with white paint and lightly sand to reveal the colour underneath.
3. Once dry, lightly smooth versamark ink over the top, don't press too hard as you only want to ink the raised detail. Dust over the top with perfect pearls, I used interference blue for a nice lustre.
4. Lightly ink the edges, then apply small blobs of distress stickles around the edge (a little goes a long way!) and smooth around the edge with your finger.
5. Gently pull the wings together to create a more 3D effect. Embellish with sequins and gems to create the body.
6. Flip the butterfly over and glue ribbon 'tails' on the back and top with a tuille bow. Take a length of wire, fold in half, curl the ends and glue for the antennae.
7. Adhere butterflies to card.


I have also added a list of the supplies I used, it does seem quite long but most things you should have in your stash already, all of my cardstock, fabric and ribbons were offcuts so it's great to use up all those bits and pieces you have lying around.

If you do make your own, please post a link to yours in the comments section, I'd love to see it!

Until December!
p&r

Supplies needed:
Card blank
Patterned paper
Bazzill
Card
Fabric/lace/batting/needle and thread
Ribbon and Tuille
Grungeboard
Glitter/gems/sequins/beads
Embossing folder
Distress stickles/Distress Ink
Perfect Pearls

Friday, 6 November 2009

Drought

A bit of a drought at the moment, i'm in the process of moving house and unfortunately all my crafty stash is the first casualty when packing!

Hope to be back mid-december with some new bits and pieces!

Monday, 12 October 2009

Spooktastic

I am rather accident prone at the moment, from hurting my back, tripping over my own feet and now I have 2 fingers strapped together which makes typing and crafting a rather slow process!

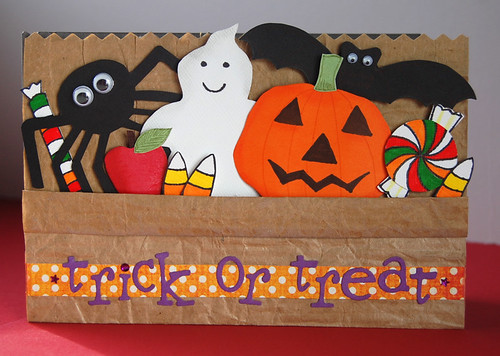
I have been working with the latest Crafty Templates kit Autumnal Treats and it is scrummy. Filled with papers and embellishments that work for both Autumn cards and Halloween Treats . As soon as it landed I had so many ideas and the templates that come with it are adorable, unfortunately I have been hampered somewhat by my unbendy fingers so I only managed a couple of cards and a mini book by deadline, but I'm hoping to work on some more cards later this week!

Apologies for the small pictures, they are clickable for a large size, Blogger seems to be stretching out my pictures if I make them any bigger!


How cute are the halloween characters? I added the apple, candy and the letters which die cut from sizzix Wingo Zingo alphabet.


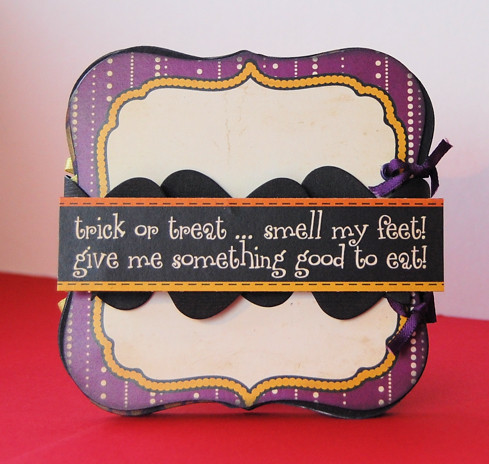
The front of the mini book. The wrap is made from Bazzill Just the Edge wavy cardstock strip with a velcro closure topped with Elle's Studio Halloween Mini Paper.


The pages were die cut with Spellbinders Labels One then backed onto black card. Each page was set with eyelets and threaded with ribbon, I added Elle's Studio Vintage Label cut outs then miniature halloween characters from the templates provided.


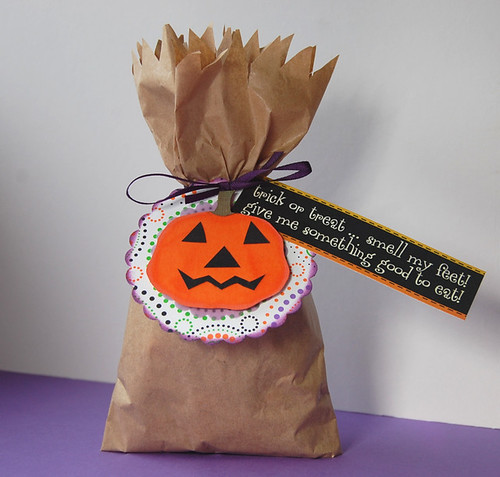
Cute little Halloween treat bags. I folded the bag into 3 and stapled the back to make a smaller bag, die cut a label and added a pumpkin from the template and more Elle's Studio paper. I made a few of these to give to my friends kids. I tried making little bags for any trick or treaters that knocked on my door last year, but because we live on a dark, country road no-one dared venture out of the village to us!


Finally, an autunal card using the template for the trees, yummy Bo Bunny Kitchen Spice papers, handstitching on the leaves and as a border and Hero Arts sentiment.

I'm off to rest the fingers after the epic post and look forward to posting some more during the week after I get the splint off. Happy Crafting :)

Sunday, 13 September 2009

Christmas is a-coming!

I used to be very bah humbug when it came to christmas but last year felt a resurgance of christmas spirit and threw myself into decorating and baking and loved it (could have also been because I didn't work over the christmas period for the first time in 7 years!)

I've noticed some changes around me recently, mince pies, stollen and family tins of sweets in the supermarkets, plans at work for the all important 4th quarter and finally the christmasalicious September Crafty Templates kit that arrived the other week! What's a girl to do but try to embrace the season so I popped on a christmassy movie and here is what I came up with.


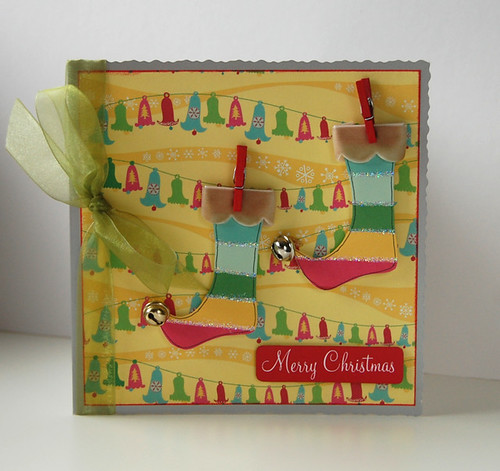
I loved the little stockings, especially coupled with the sweet little bells, made me think of elves which in turn prompted me to watch Elf while making these!


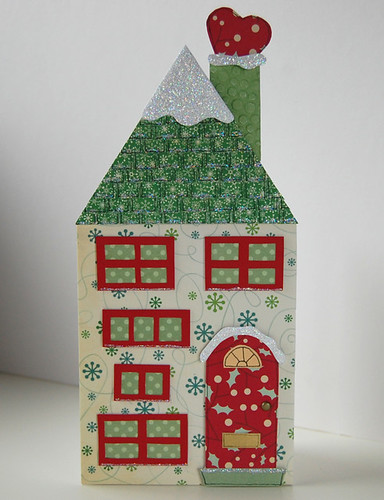
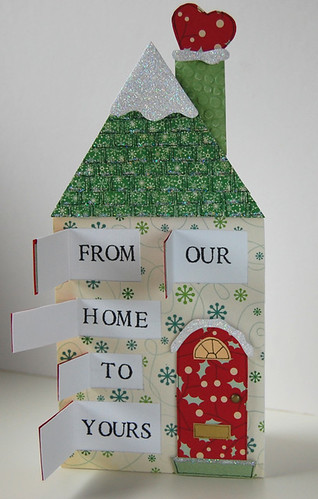
The house template was so cute, I liked the idea of opening the windows like you would with an advent calendar.


I cut the jumper template from felt and embroidered. It's perfect to send to my friend in Canada where it's so very cold.


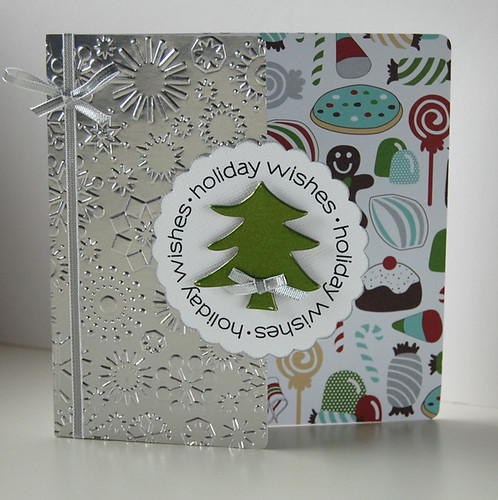
This is not a template card, but I liked how it turned out. I love using my cuttlebug embossing folders and this one is a firm favourite, it adds just the right wintery touch.

Hope this week has been kind to you all, have fun :)

Tuesday, 8 September 2009

Zig-a-Zig-GAH!

I am at odds with my sewing machine. I love the look of sewn cards and it took me quite a while to be brave enough to use my sewing machine on a card for fear of ruining it and sure enough I did the first time but I keep persevering with varying results.

I started this card for my mother in law's birthday and decided that I wanted to sew the paper on for a more finished look and with some trepidation started with the sewing. The first inch went well then it all started to go wrong, it started missing stitches, zigging when it should have zagged and so on and so forth. I continued onwards and after i was finished it just looked...ugly. I took some thread and oversewed the parts that had been missed, it looks much better but I can still see where I had to correct it, I just hope the MIL doesn't!

Friday, 4 September 2009

A Special Lady's Birthday

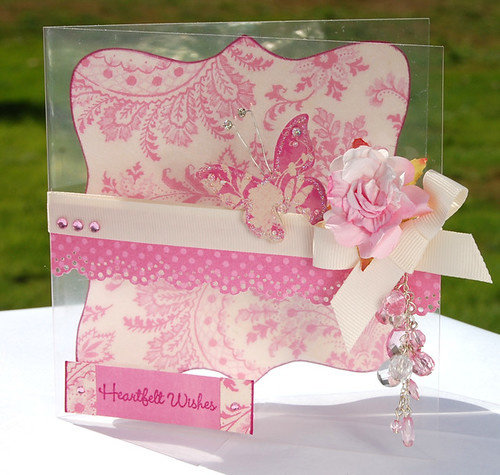
I was going to give my mum a card that I made a while ago that she really liked, but decided she required something a bit more special. So for her birthday this Sunday I came up with this:


My first full acetate card.  I used the same template as the Celebrate card for the inside paper, added a Bo Bunny dotted card strip on the front used with my new Martha Stewart Doily Lace punch (oh how I love it so!) some grosgrain ribbon, a K&Co butterfly, a beautiful paper rose I found on etsy a while ago then added a handmade beaded embellishment and some sparkle stones. I was so pleased with how it came out, almost exactly as I had imagined it!

To while the time away while making some of these recent cards I have become addicted to the Gilmore Girls tv programme and I am working my way through the boxset. Has anyone else watched it? I just want to pack my bags and move to Stars Hollow!

Thursday, 3 September 2009

Duly Noted

It's my wonderful Mum's birthday on Sunday and I wanted to make her a little something. I knew right away that I wanted to create a set of notecards after my first attempt the other day with the sunflower ones.

I have a box of gorgeous K&Co Madeline chipboard butterflies and a paper pad that I have been waiting to use so I went ahead and created some simple notelets using the papers, a butterfly, ribbon and a sentiment. I made 2 each of three designs complete with lined matching envelopes. They measure 4 1/4in x 3 3/4 in.

A bigger picture can be seen here. I love them, they are such a cute size and perfect for a quick little note. I also made a box using Chatterbox papers, sizzix die cuts and ribbon which I think she will love.
I want to keep it for myself now! I guess I'll just have to make another one :)

Wednesday, 2 September 2009

Princesses and Baby Love

I adore my Niece, she is so huggable, bubbly, chatty, cute as a button, adorable, ok I think you get the picture! Unfortunately she, along with my best friend and Nephew emigrated a million miles away (well, maybe not a million but enough that I can't visit every month) and I miss them all so much. They have been at the forefront of my thoughts just recently and although her birthday isn't until December I wanted to make her card now, it made me feel good knowing I was creating something for her and I also want to make sure I can package up a big parcel for all of them for christmas and need to send it mid-November to make sure it gets there on time!

She is a proper little princess, beautiful blue eyes and blonde ringlets so I know that she would love a very girly card and this is what I came up with:


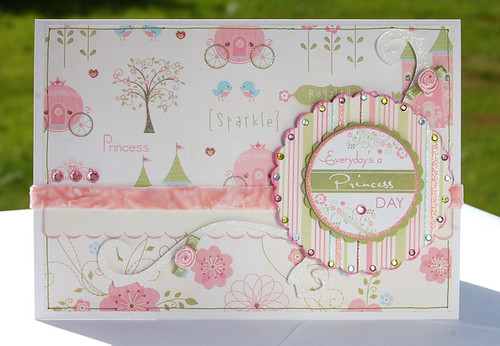
I adore the Imaginisce 'Fairest of them All' collection and was sad that it has been discontinued so have been buying up as much of it as I can. I used two different papers, a chipboard sentiment, some glitter sizzixed (is that a word?) swirls, velvet trim, ribbon roses and sparkly stones. I love it and I am hoping that she will too. I now need to scrap some photos of her using the aforementioned papers!

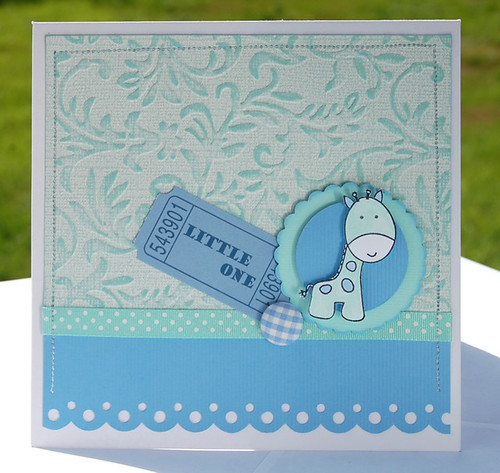
During my little stamping session the other day I also stamped this cute giraffe, again from imaginisce, colouring him with watercolour pencils.

I used some of my new whitewash coredinations card, cuttlebug embossing folder and some other bits of stickers and trim. Please note the stitching, not something I am used to and I was quite pleased with it. I am not so pleased with the card I am working on at the moment, I used a zig-zag stitch and it zigs more than it does zag so I am currently oversewing parts of it by hand grrrrr.

I don't have anyone around me expecting so I don't usually make baby cards, but he was too darn cute so I went ahead and made one anyway. You never know when you might need a card for such an occasion, right? right?

*crickets*

Shhh, it makes me happy and you never know, someone in the family may have some type of 'tuplet' and that will excuse the ten ton of cards I plan on making - athough I hope they don't weigh ten tons, ouch!

Tuesday, 1 September 2009

A very productive few days.

I was lucky enough to finish work on Wednesday afternoon for a few glorious days off and decided that I should really get started on making some cards. I have so many birthdays and anniversaries coming up in the next couple of months, usually I only have 1-2 occasions to make for but I have 17 over the next 3 months and I need to make a headstart!

However, sometimes things don't always go to plan. Here is the first, created for my boss for his birthday on Sunday, although I have now found out that he does not celebrate his birthday and is particularly touchy as he is 40 this year so I guess this one is going back in the box ready for another male birthday - I always have trouble striking the right balance on men's cards. I created a template for the background, cut it out of Doodlebug dotted swiss and doodled the coloured frame on the outside to tie it in with the pre-made greeting.

I then became distracted from the task at hand and made a couple of others, not for any particular purpose but just to pull a couple of ideas together.
I have been playing around with some vintage-y ideas for a while but I can't seem to strike the right balance, this seems a little bright and the distress stickles didn't go quite how I wanted but when I catch a glance at it on my desk it looks so pretty and girly that I can't resist it! IRL the love card sits behind the flower petals.

This one below isn't floating my boat, sure it would be lovely to blog about the things you are most proud of, but hey, i'll take the rough with the smooth!
I started off cruising around some blogs looking at stamping techniques so thought I would have a go at stamping and watercolouring. I am resisting the temptation of Copics/Promarkers and I know I couldn't just start off with one of two, I'd want the whole set! I stamped the butterfly with staz-on, so far so good, pencilled with the watercolours and blended them together and I thought it looked ok, then I smothered the whole thing in perfect pearls which looks very spangly but doesn't really show in the picture.
Regardless of the fact that I just spent £30.00 on some new Hero Arts greeting stamps I couldn't find the right sentiment for the card so I used a K&Co sticker, but it had yellow/green on it and there was none on the card so I added the Doodlebug frill. I don't know what it is about me but I like things to tie together, I definitely need to try something outside of my comfort zone!

It's definitely on the 'meh' list so I think i'll just save it for when I need to dash off a quick card! More cards to post this week :)

Tuesday, 18 August 2009

Cherry = Love

I adore cherries, it's high up there with my two other favourites almonds and pears. I love the smell and the taste, both edible and in bath products, patterns or the colour!

I found a cute little BG Cherry stamp set on holiday and knew I had to buy it! I feel some more cherry related cards coming soon and I can't wait to snaffle some of that Doodlebug Cherry Amore and Berry Blue paper to make some sweet summer goodness!

Now, I'm not one for sewing much but I was so pleased to work out for myself how to make the stitching on the cherry stems in one continuous line. I know, I'm not the sharpest pin in the sewing box when it comes to anything stitch related!


Sunday, 16 August 2009

Sunshiney Day

What a beautiful day today, a nice relief to the grey days experienced here recently. Although I am a self professed 'rain lover', you know the feeling, wrapped up in a duvet, the rain tinkling against the windows and you are snuggled up with that special someone watching a good movie and all is right with the world, but I do forget how much I enjoy the sun and how it can lift your mood, so I sat down today and knew that I wanted to make something yellow to reflect the happy vibe (even though I have a horrible week ahead of me at work being on call from 8am - 11pm)

The flower came from a recent kit, it's one of those pieces of stash that you look at and think it is too pretty to use, I do that a lot and therefore end up with lots of pretty things which never make it onto a card or scrap book page, I need to make a mid-year resolution to start cutting into that pretty paper and use all those sweet embellishments.


I love making little cards, I made these ones from the offcuts from the first card and added some sunflower toppers that I bought on sale a few years ago. I'm thinking of creating a whole bunch of these using a couple of sheets of co-ordinating papers and some mixed sentiments as a little gift for my mum.


I think that about does it for today. Hope you and yours enjoyed a wonderful weekend!

Wednesday, 12 August 2009

August Card Kit

Sometimes life just gets in the way doesn't it? I was poorly for the first half of July, then I had a fab holiday and promptly came back to earth with a thump and the post holiday blues! I had so many good intentions to get crafty, from making cards, scrapbooking and other little projects and they seemed to fall by the wayside. I did manage to complete a Making Memories 8x8 mini book about my holiday, but the cardmaking, not so much. I have managed to complete my DT assignments and I hope to start on some new cards for the weekend, so many ideas but when it comes to getting them all out I'm sitting there staring at the paper - I need to find some get up and go!


CT08birthdaygift


CT08birthdaygift2

These little monsters are dangling on some acetate to give some movement, I love hearing the wiggle eyes rattle!

CT08monsters

My first ever pop up card with a couple of miniatures of the larger templates

CT08monsterspopup


CT08partyhat